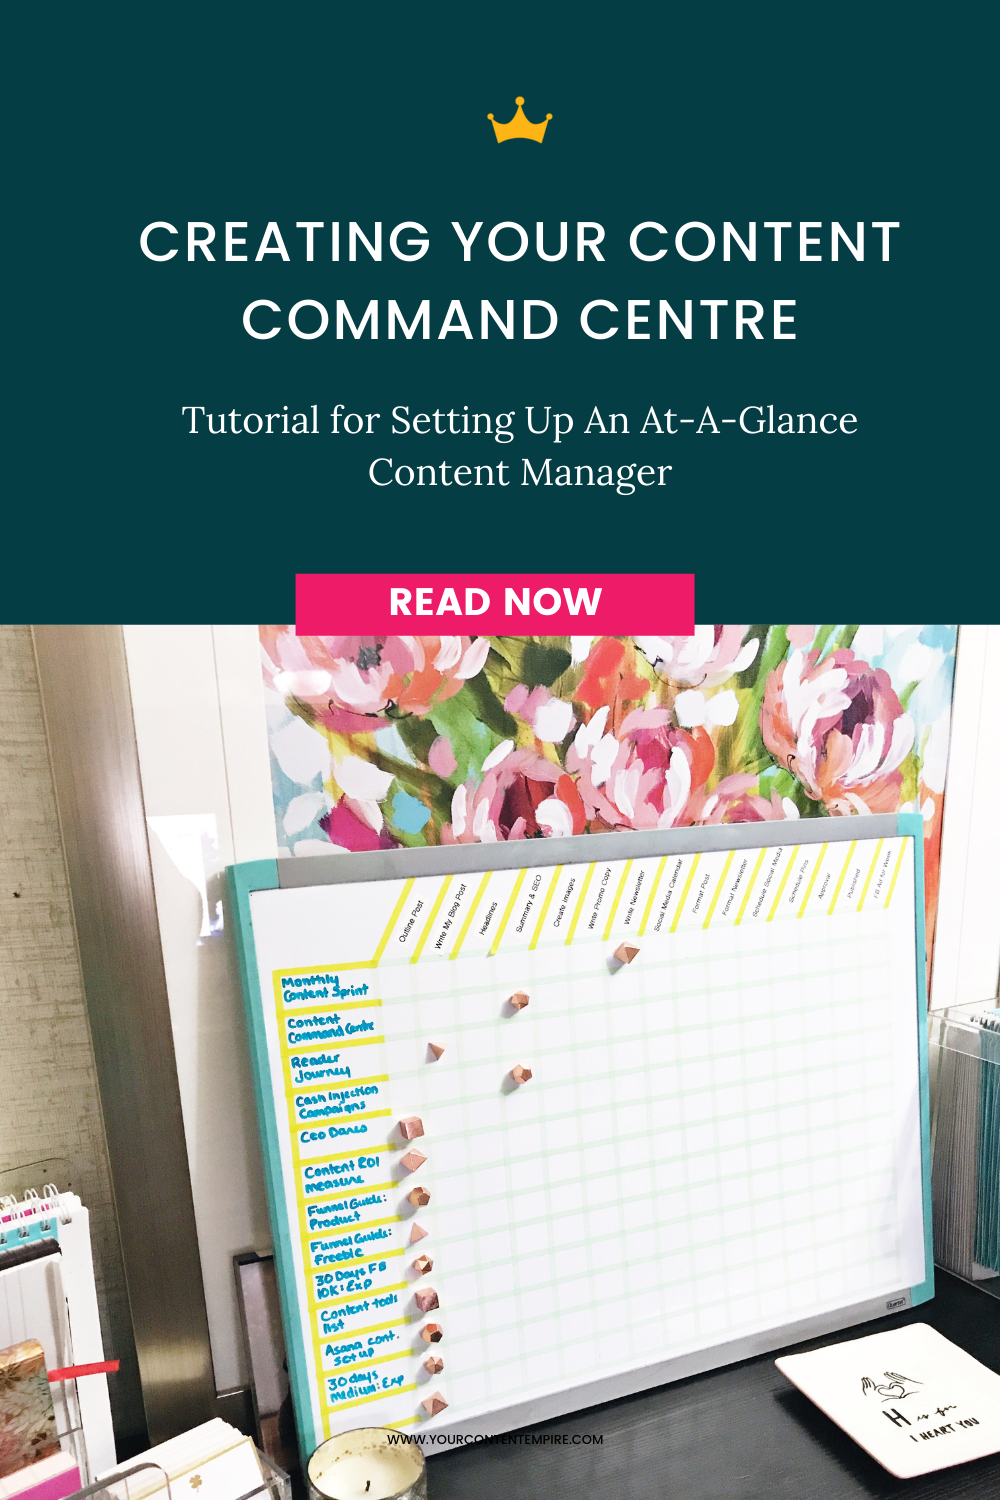
This project has been a long time coming.
There’s this picture (well multiple pictures) on Pinterest of a Photographer’s Studio Assistant that I’ve been obsessed with for years. Every time I see it, I think about how much I’d love to have a Content Command Centre to manage my content projects visually.
Well this year, I wanted to get more crafty. More hands on. More tutorial’ly.
So for the visual planners, the paper over pixel people and those wanting to keep their content in sight and top of mind – this is for you (and me ‘cuz I’m one of you too!)
What is a content command centre?
It’s basically an at-a-glance progress checker for your content workflows. We’ll use Asana for some of this because we use it for everything else in our business, but I find it indispensable to have a physical reminder in my workspace. It’s also much quicker to check quickly instead of having to turn on my computer and find my Asana board.
Materials
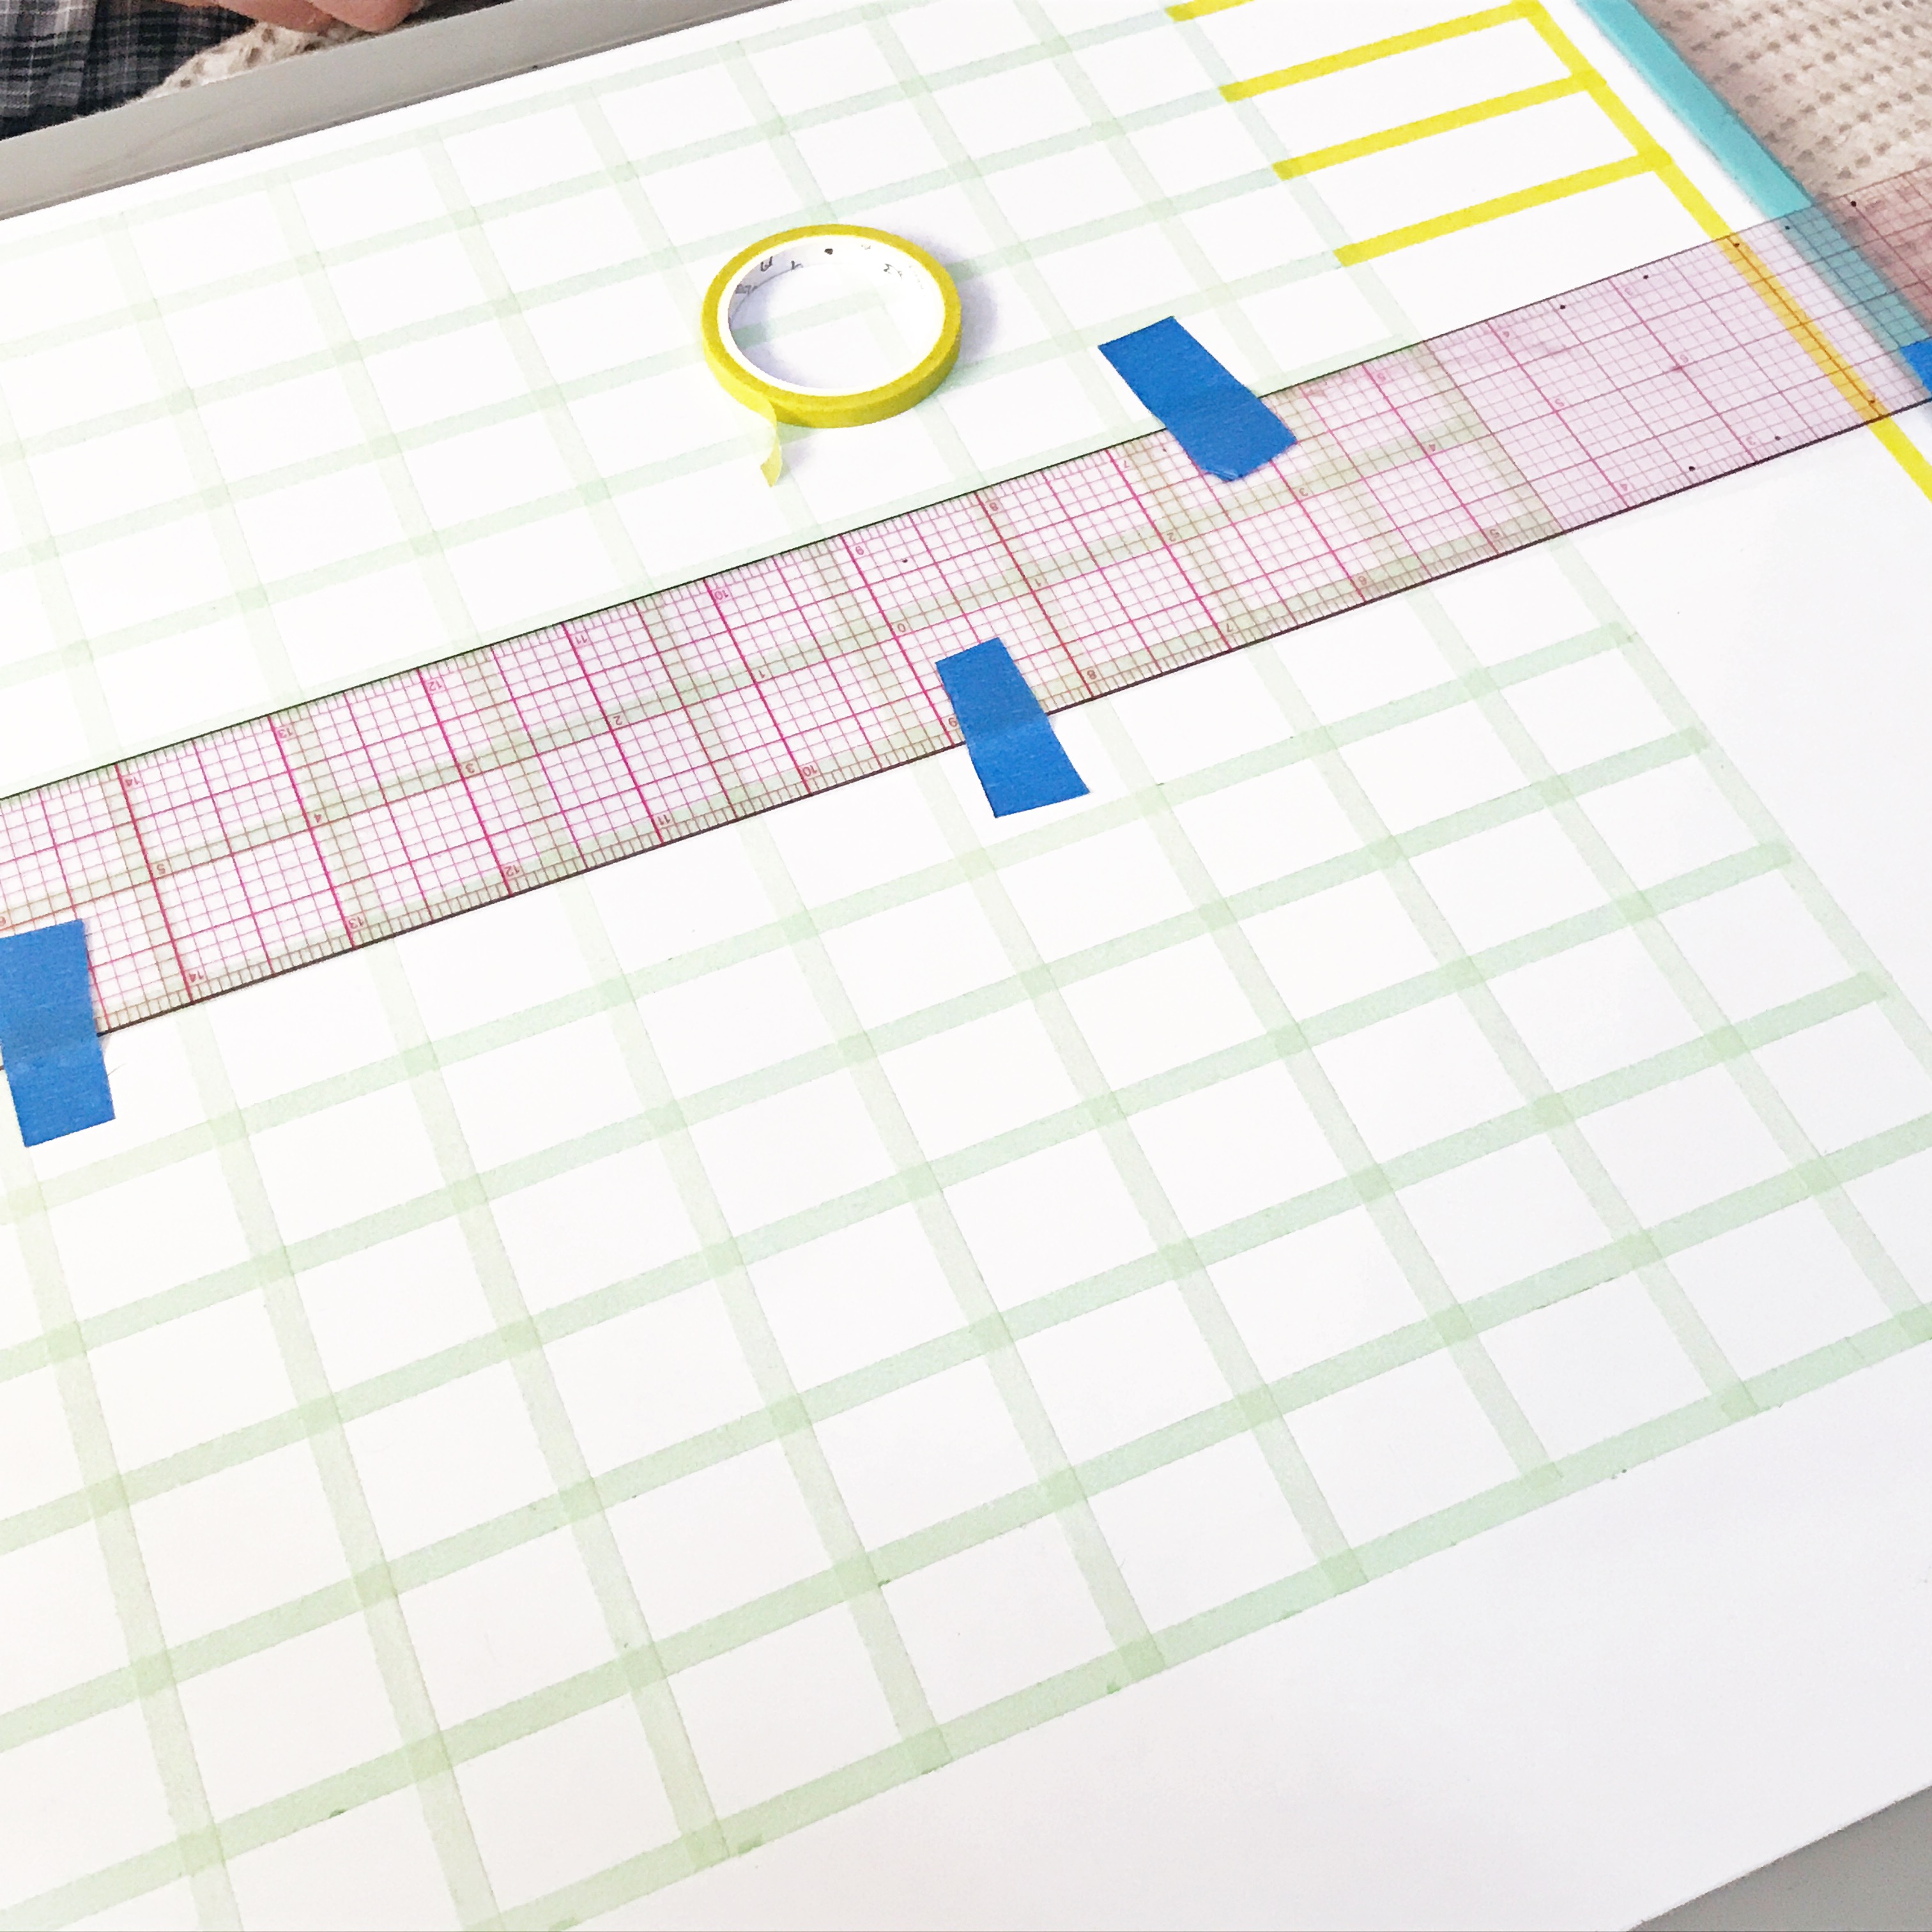
Step 1. Your Content Bundles
Start by designing your content workflow. What are all the steps you take to create, design and publish your weekly content bundle.
A “Weekly Content Bundle” refers to the package of content you publish on a weekly basis.
Sidenote: It could also be a biweekly or monthly or other frequency instead. The determining factor is how often you’re publishing a blog post. If weekly, then it’s a weekly content bundle. If biweekly, then it’s a biweekly content bundle.
So for me that looks like:
-
Free write and outline my blog post
-
Write my blog post
-
Headlines
-
SEO
-
Create images
-
Write promo copy (1 long, 3 short)
-
Write newsletter
-
Create social media calendar
-
Schedule and format post
-
Schedule and format newsletter
-
Schedule social media
-
Schedule pins
-
Approval
-
Published
-
Create FB ad for week
Step 2. Your Labels
For each of your “steps” above, create a label.
I used my label maker to create these. (I've had mine forever so I couldn't even find that they made it anymore. But it's a P-Touch like this one without all the fancy fonts and colours. Time for an upgrade, maybe?)
If you have neat printing, you could also write them yourself using a permanent marker after finishing step 3.
Step 3. Setting up Your Board
Add your columns for blog post titles
Add your columns for workflow steps (make sure it’ll fit your labels and magnets). If there’s any space left on your board, use it at the end for notes.
Add your rows
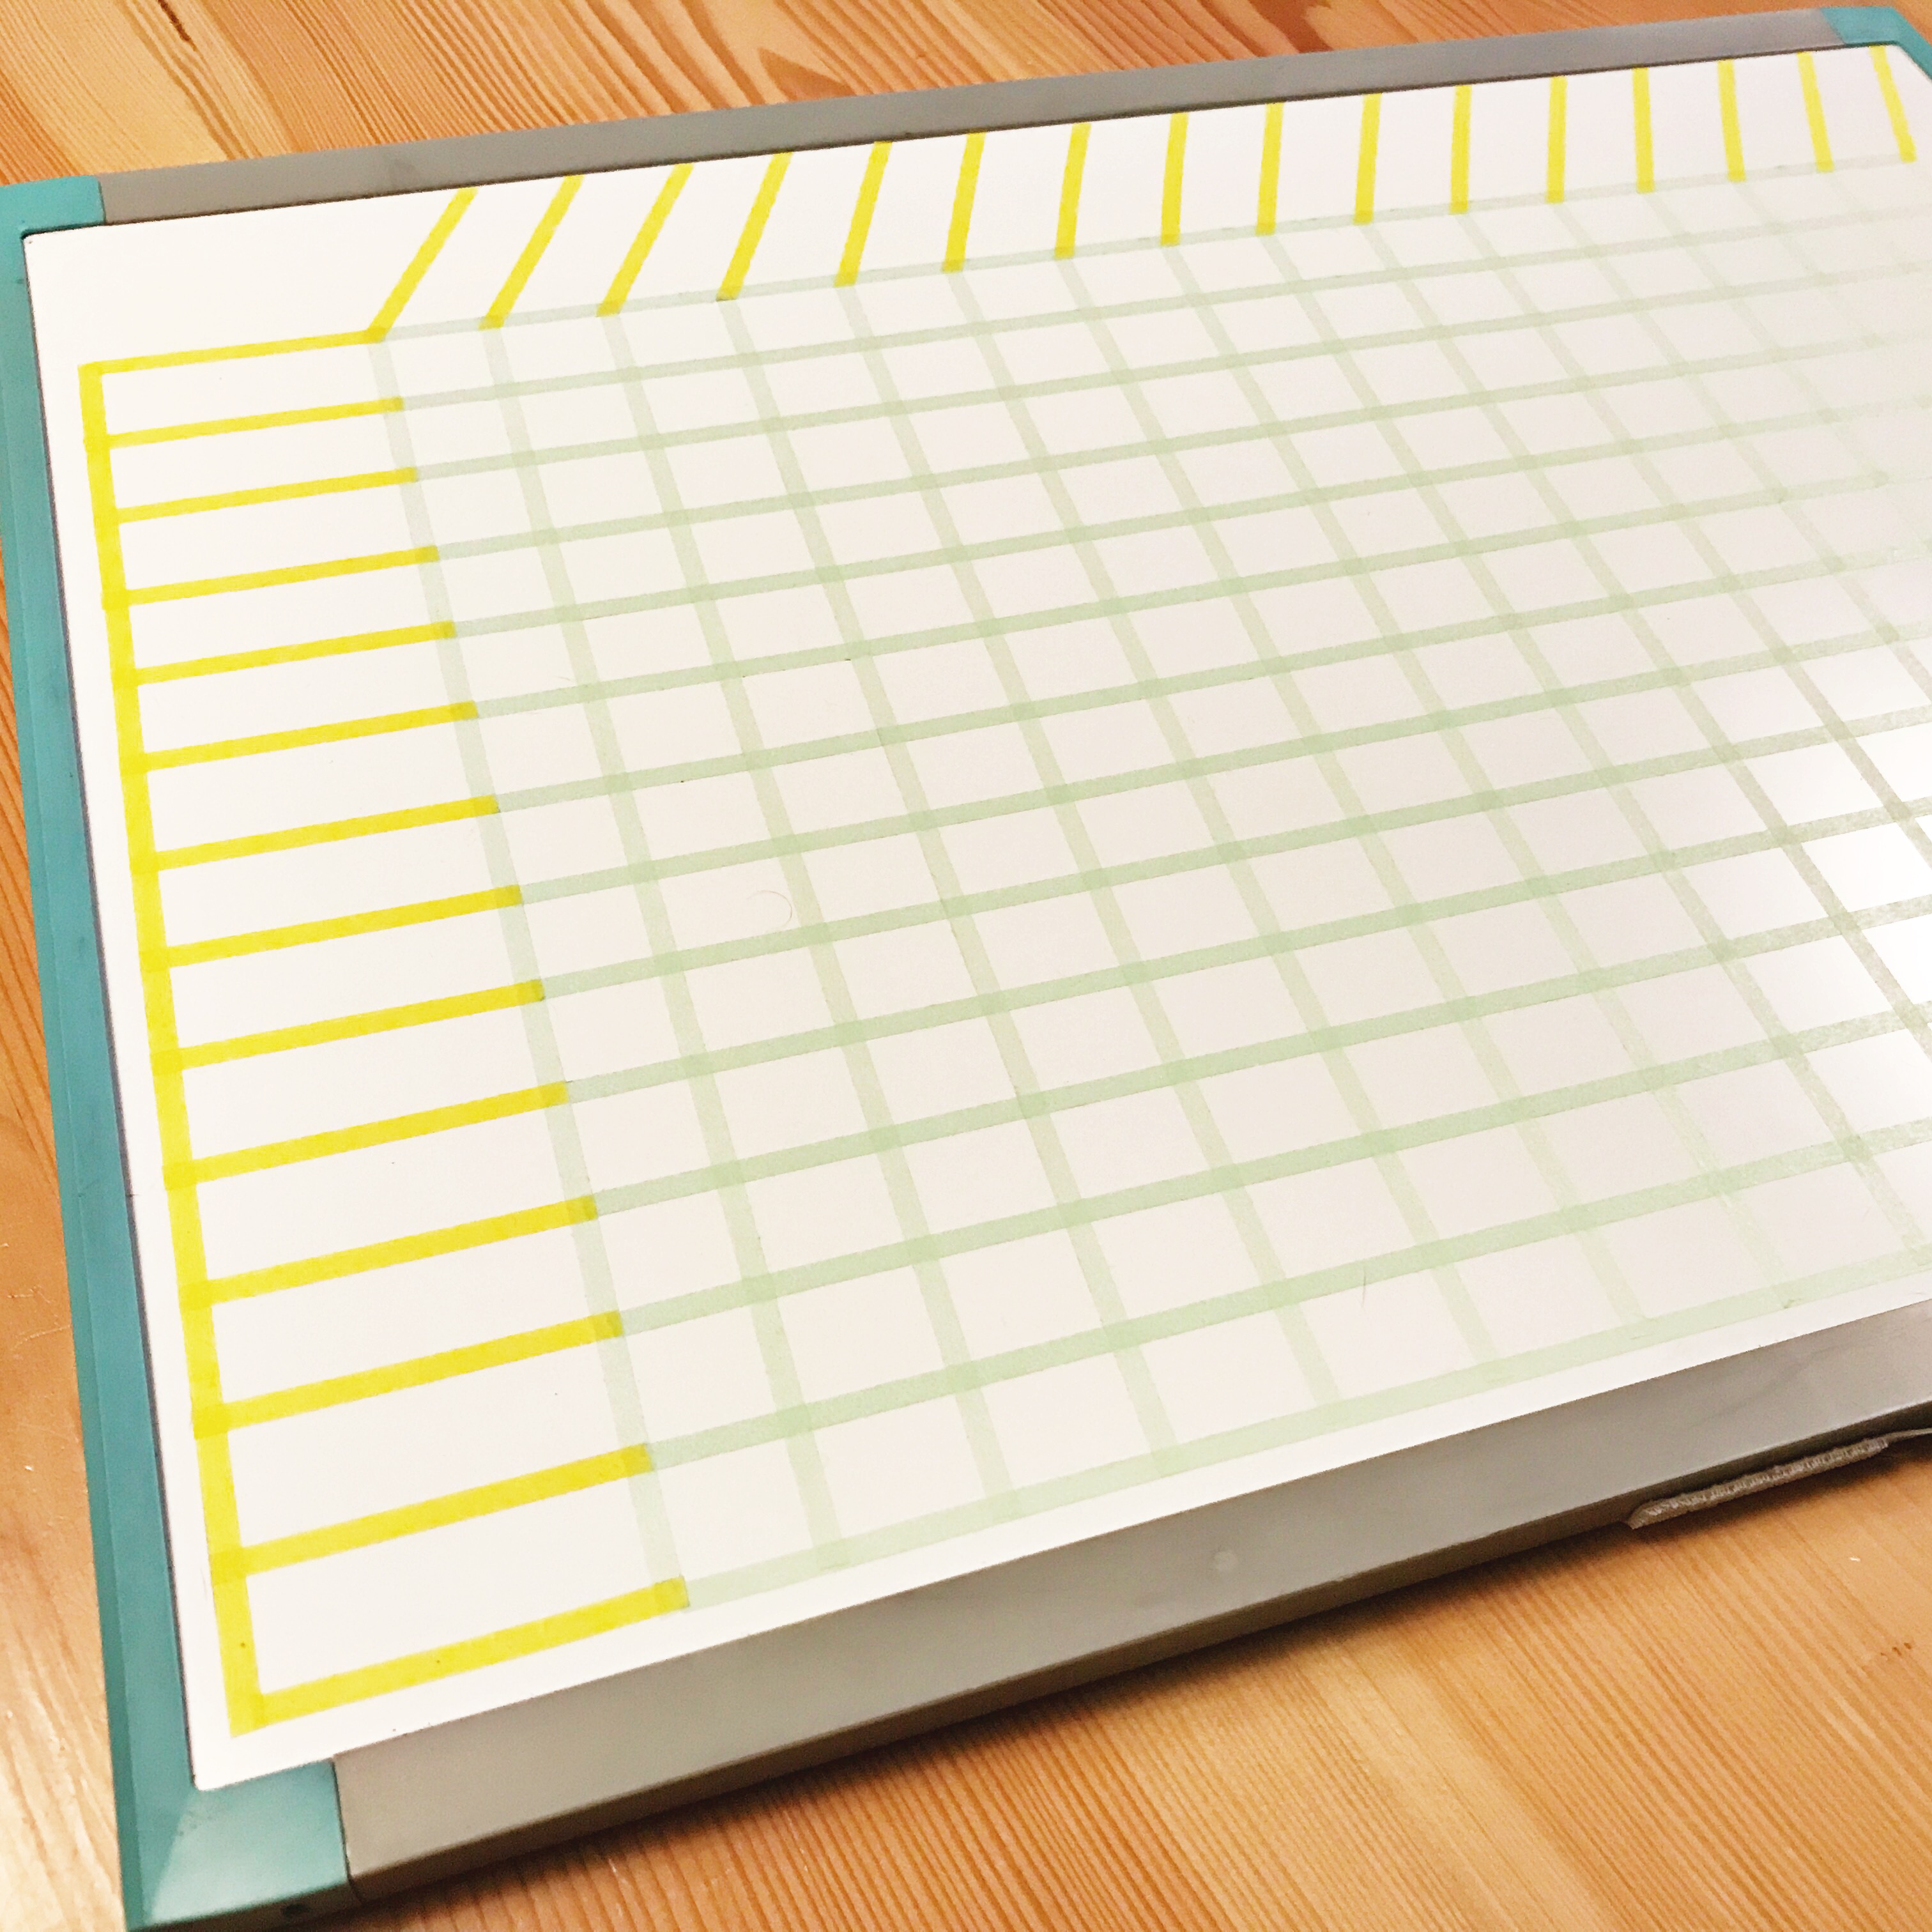
Place your workflow labels
Hang your board or place it somewhere
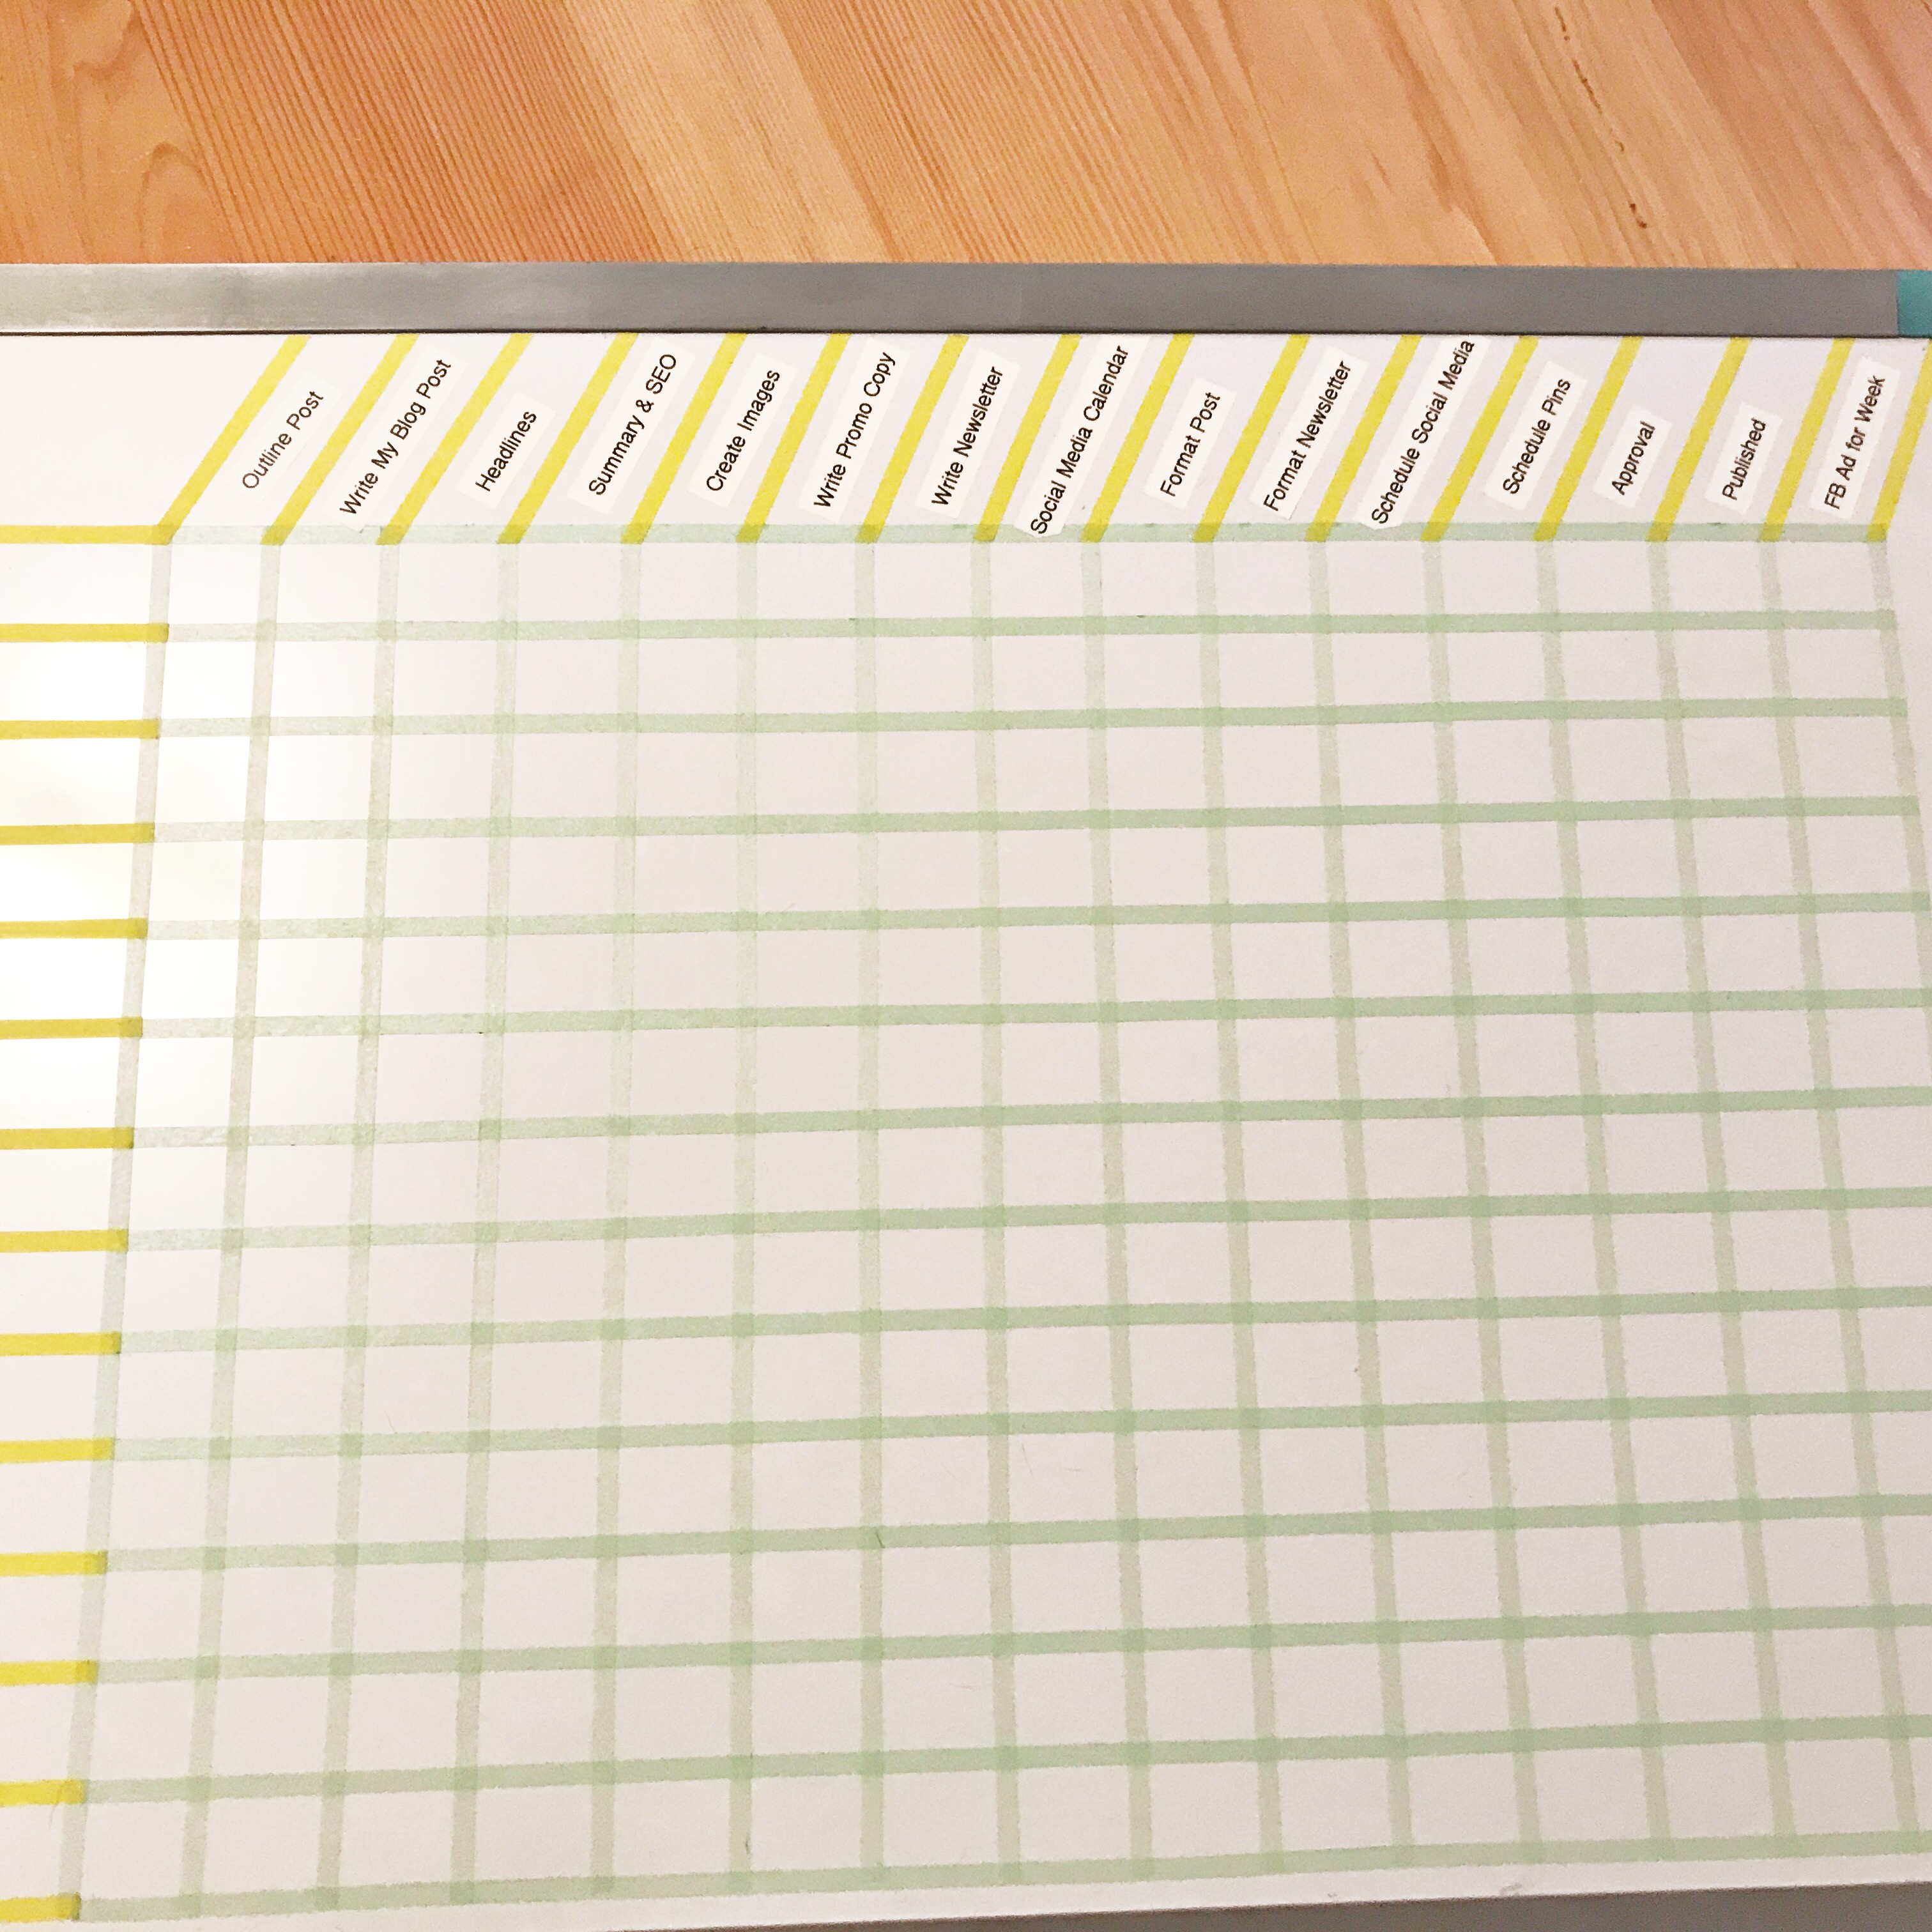
Step 4. Adding Your Posts to the Board
Add your upcoming blog posts to the board
I plan my content quarterly and aim to publish once a week (unless I have a launch), so I’m adding around 10-12 posts a quarter.
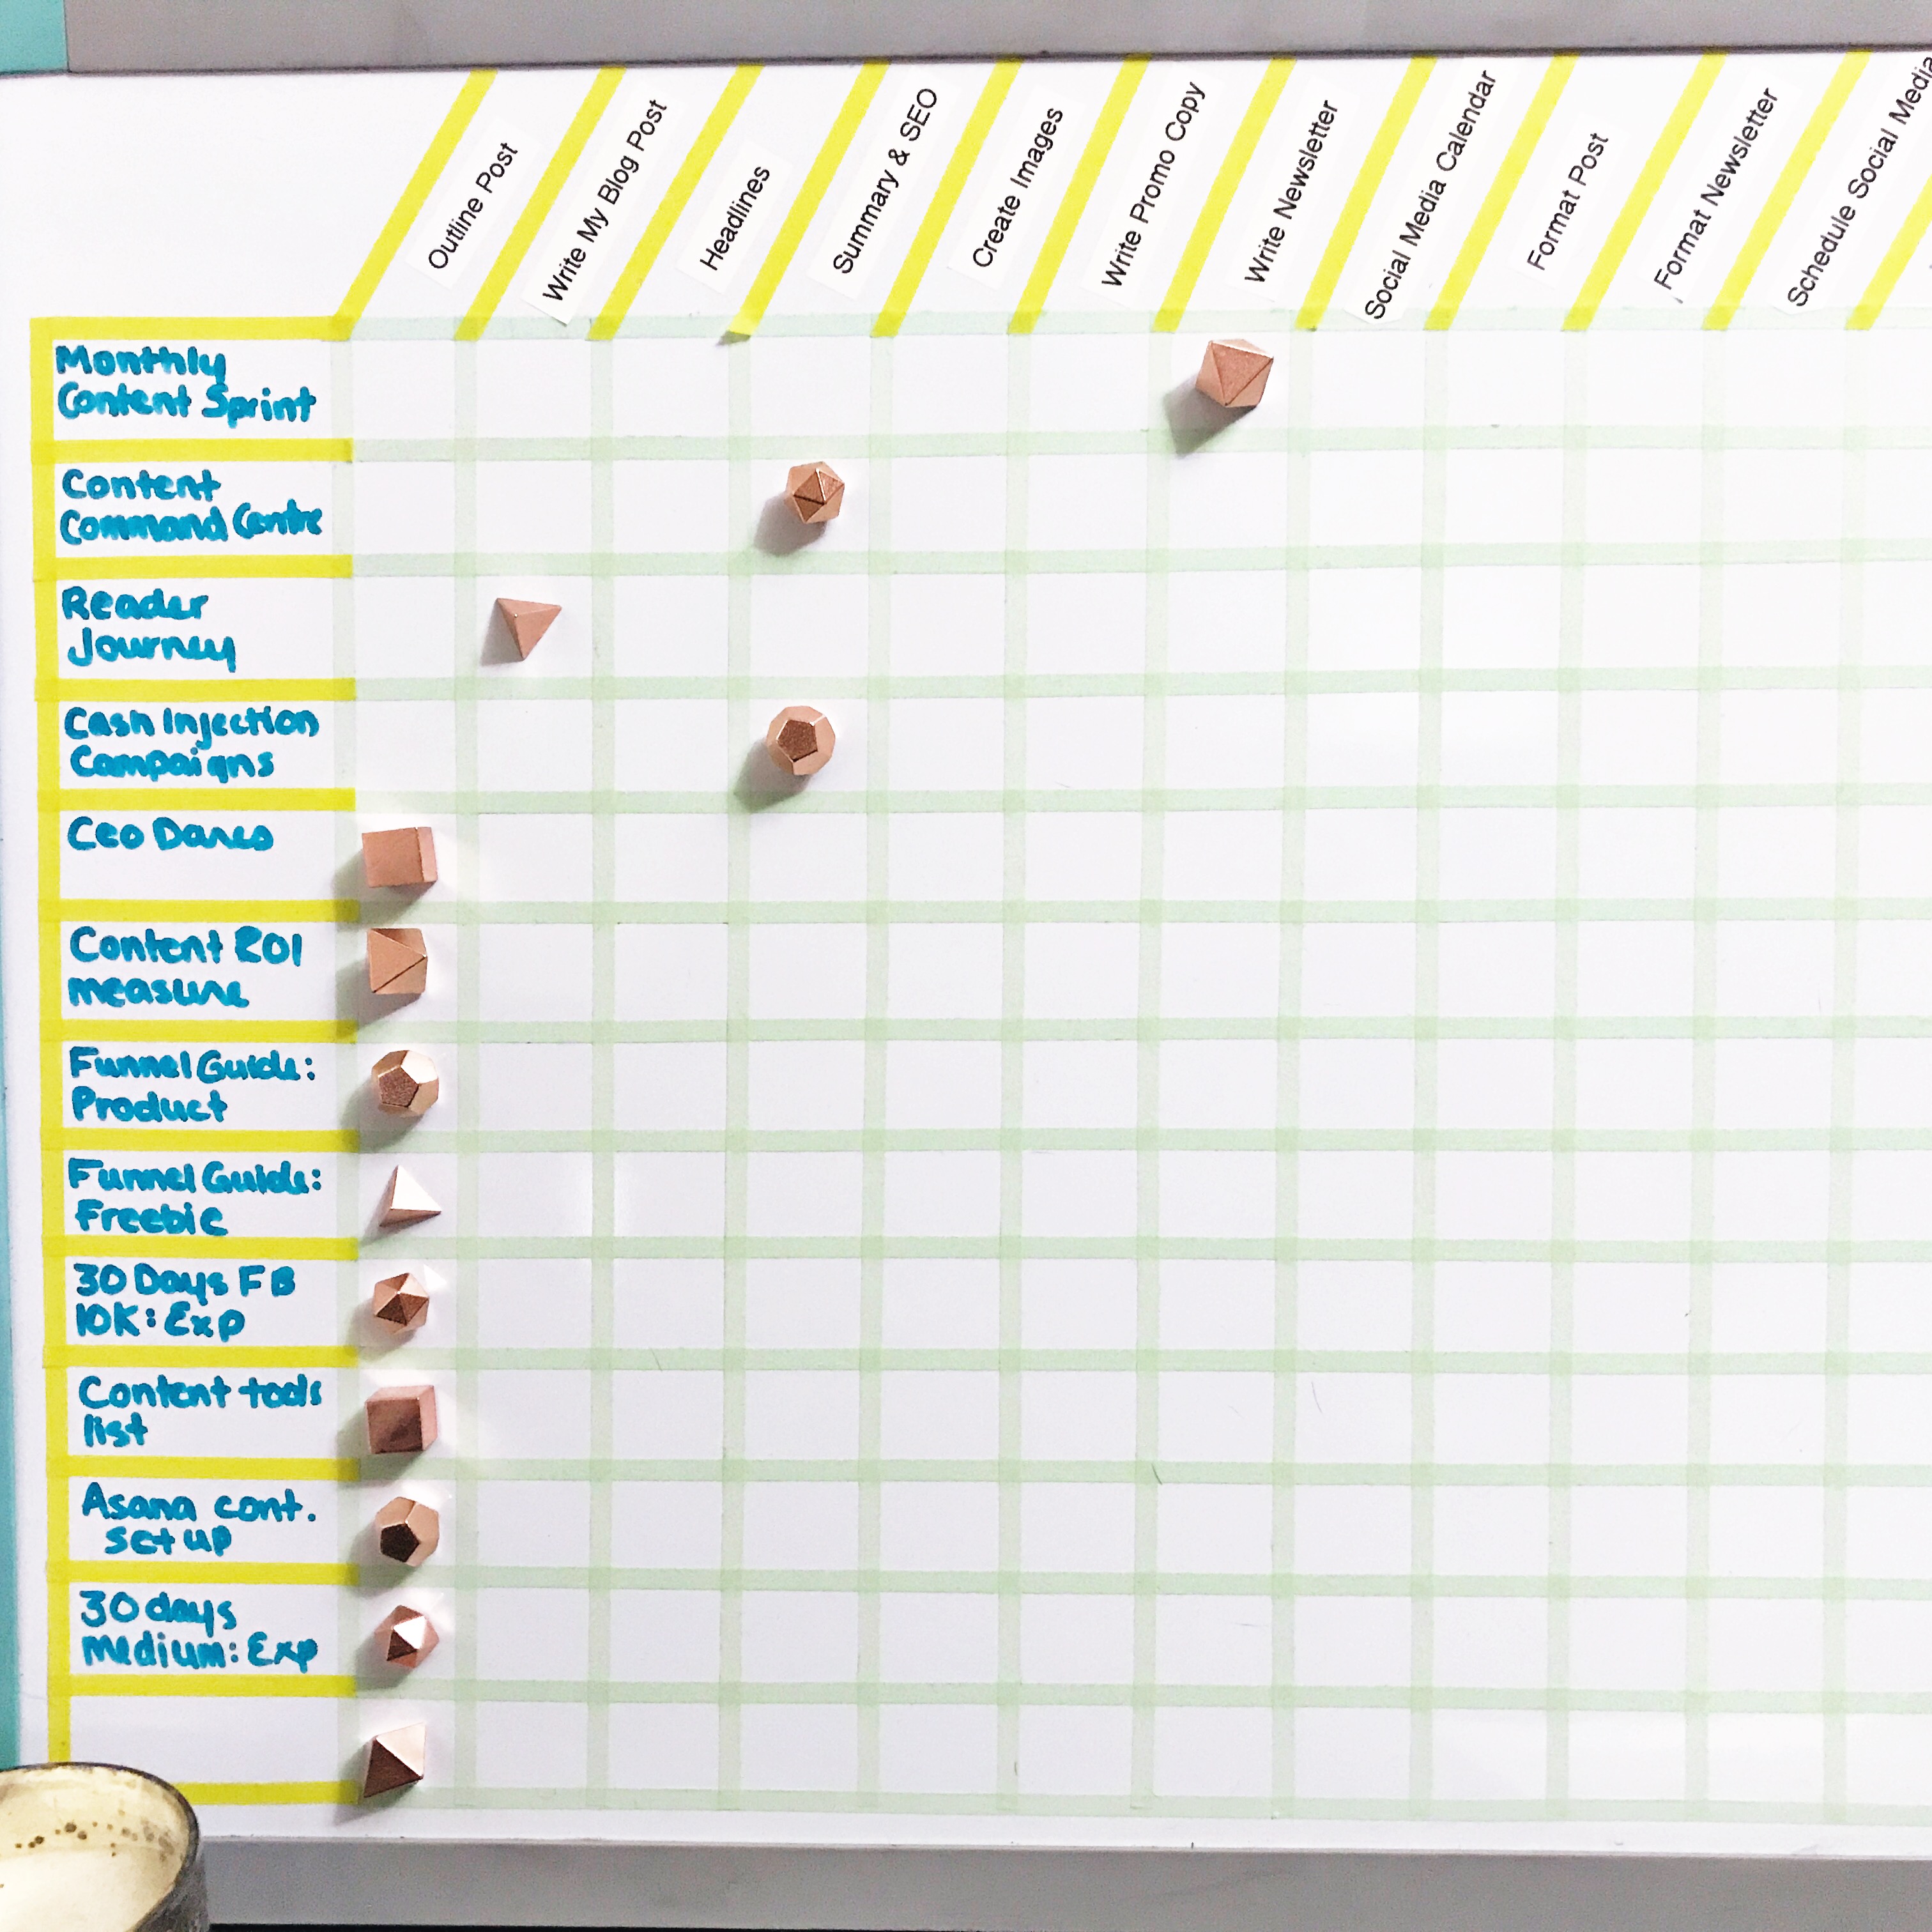
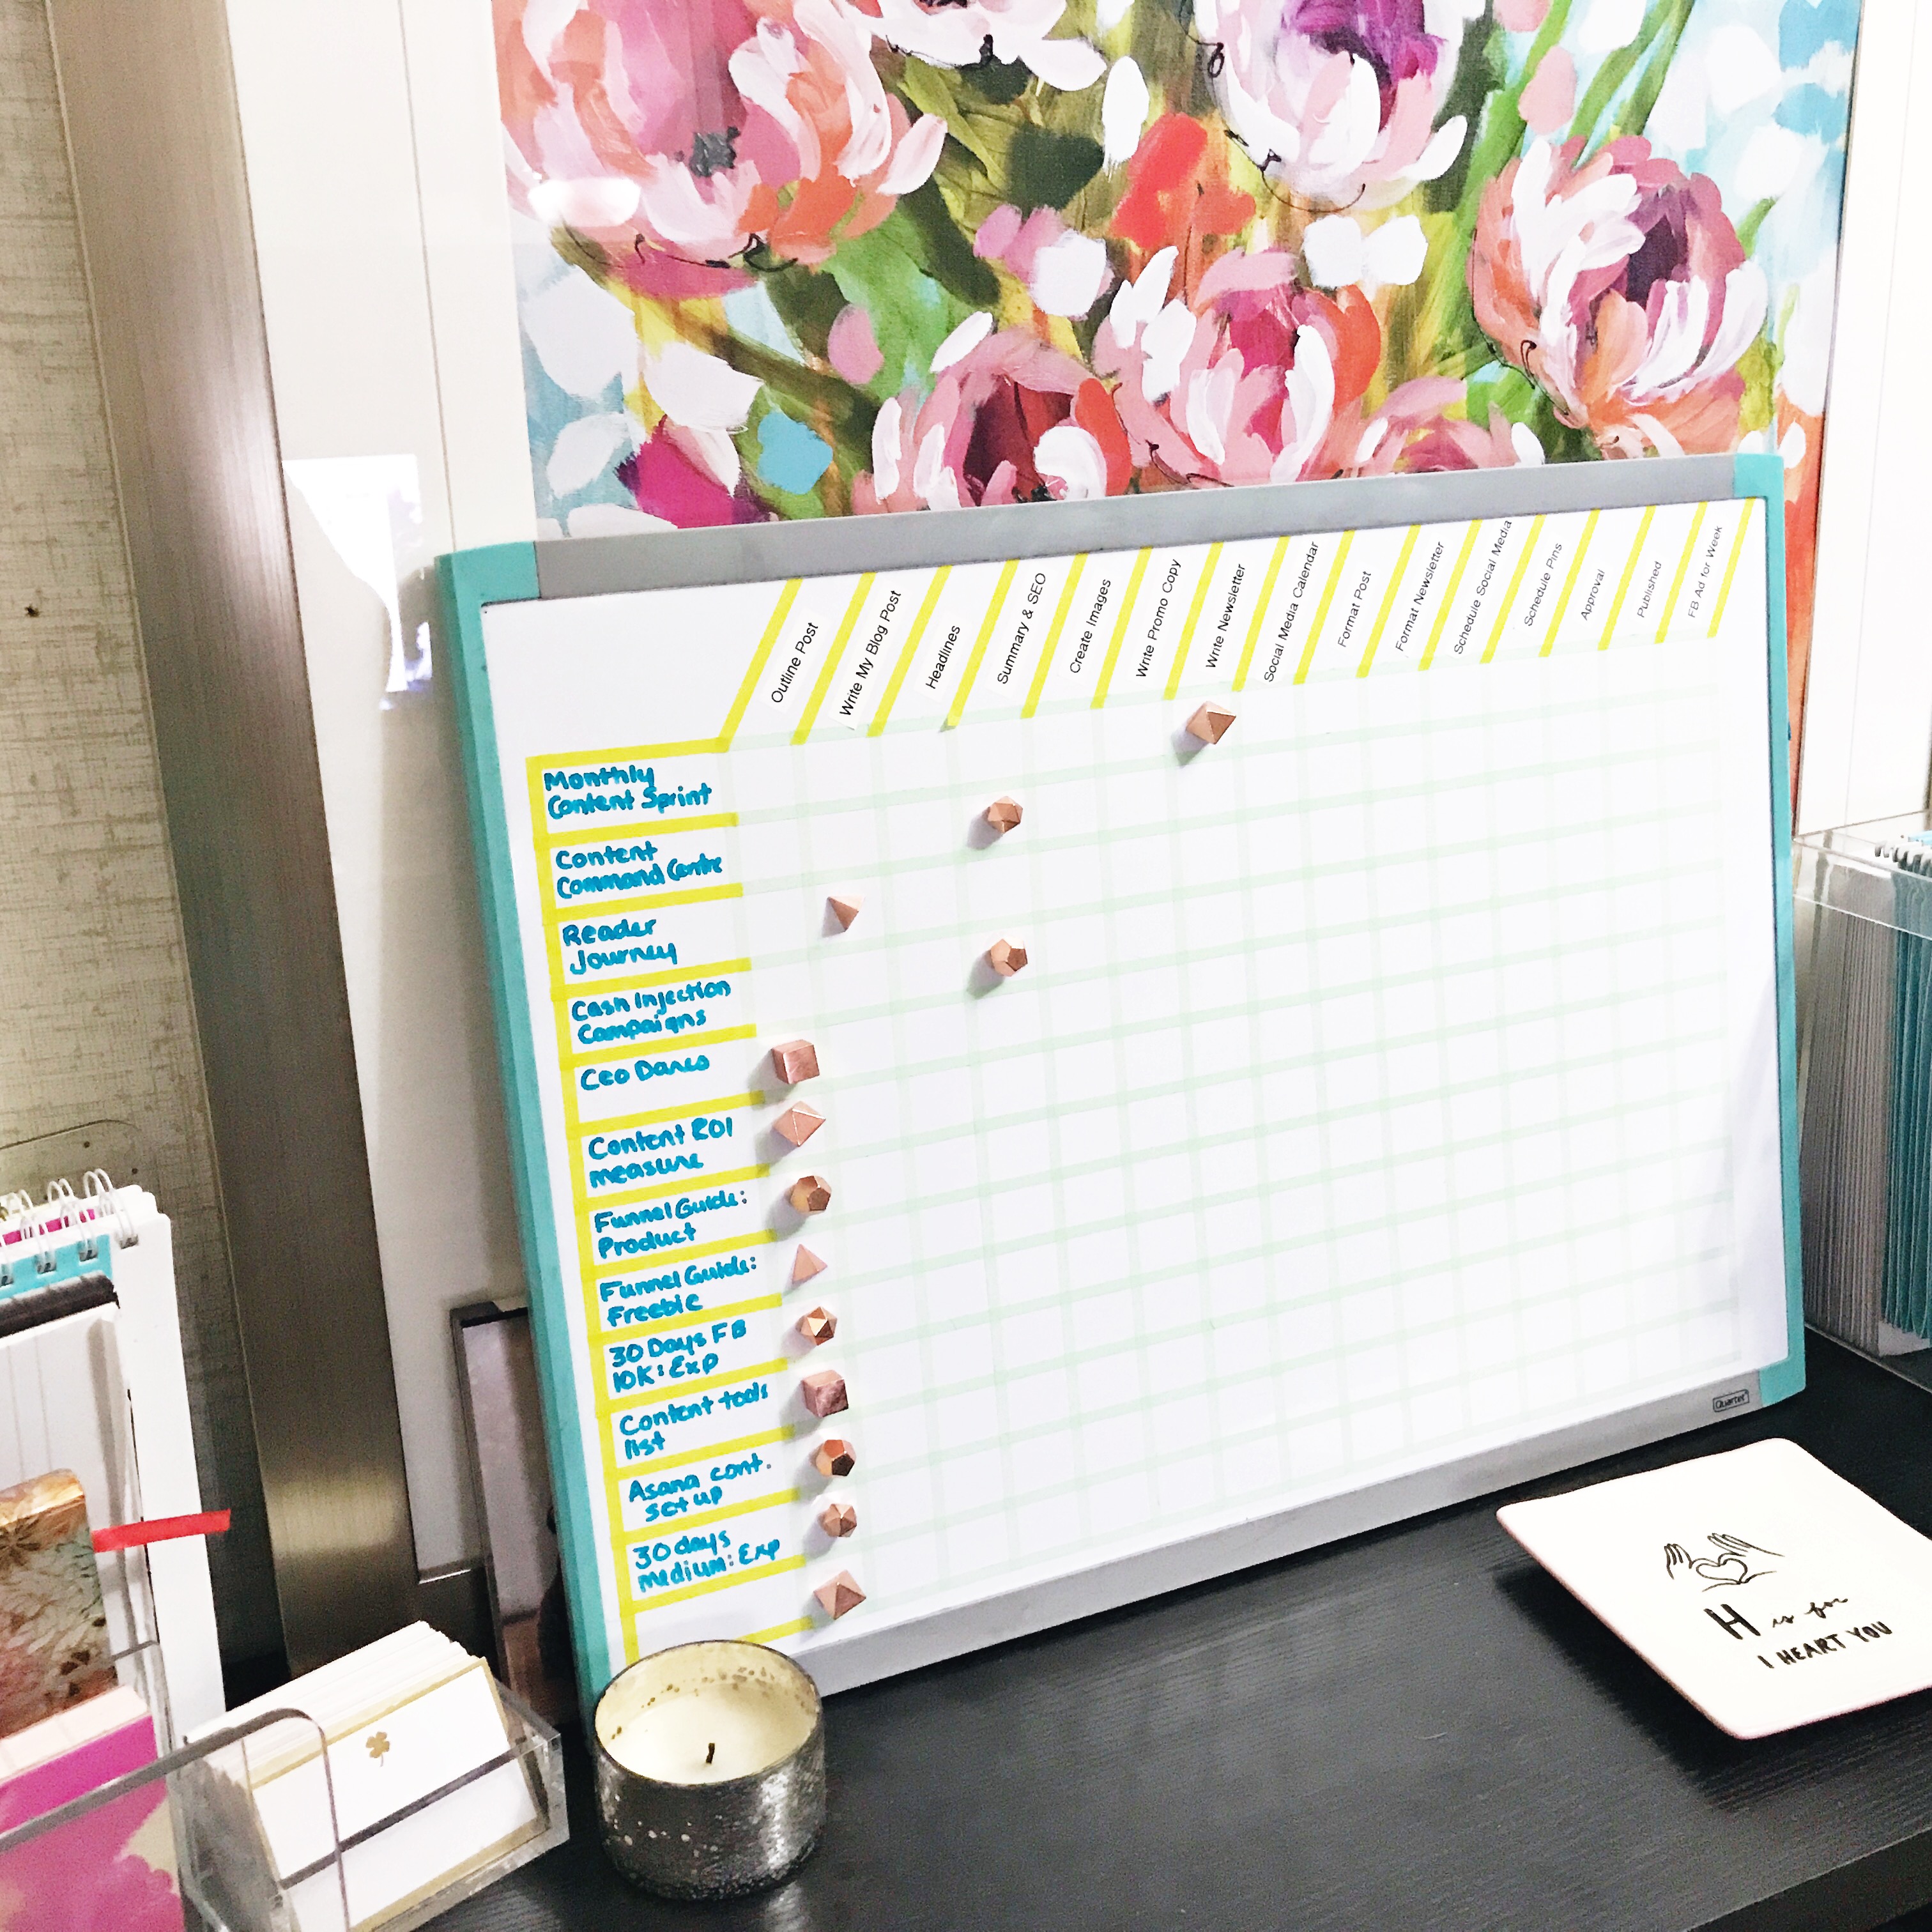
Using the Board
Every day I do a quick update on the board.
Every week I make sure things are moving along.
Every quarter, I clear the board and start anew.
Want my template for setting up a digital Content Command Center?
Grab my Content Empire Hub here ↓
