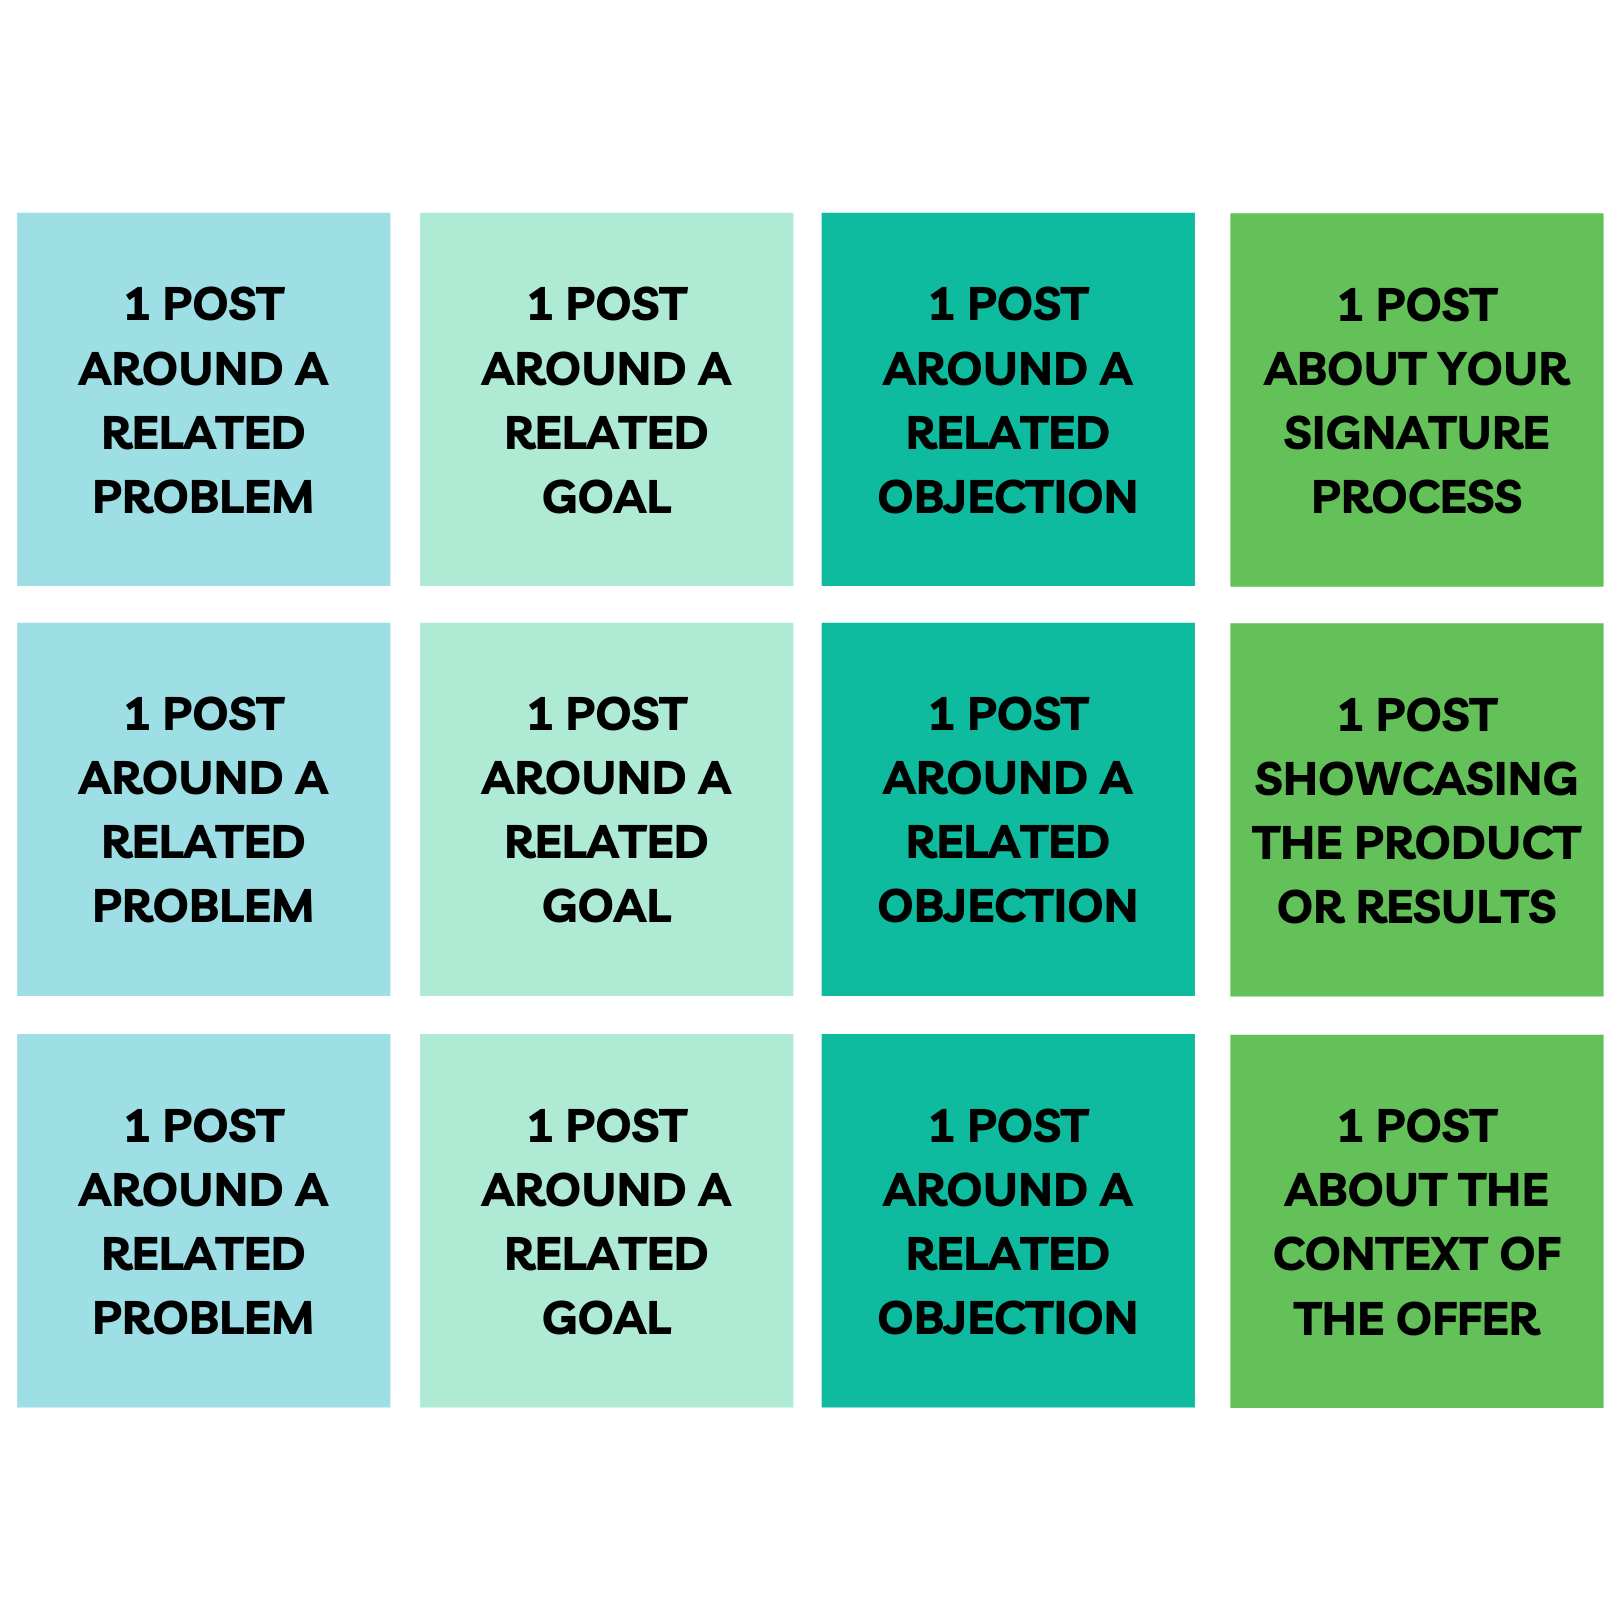
As you’re building your capsule content roadmap, think about posts that you already have, or different content you have that could be repurposed.
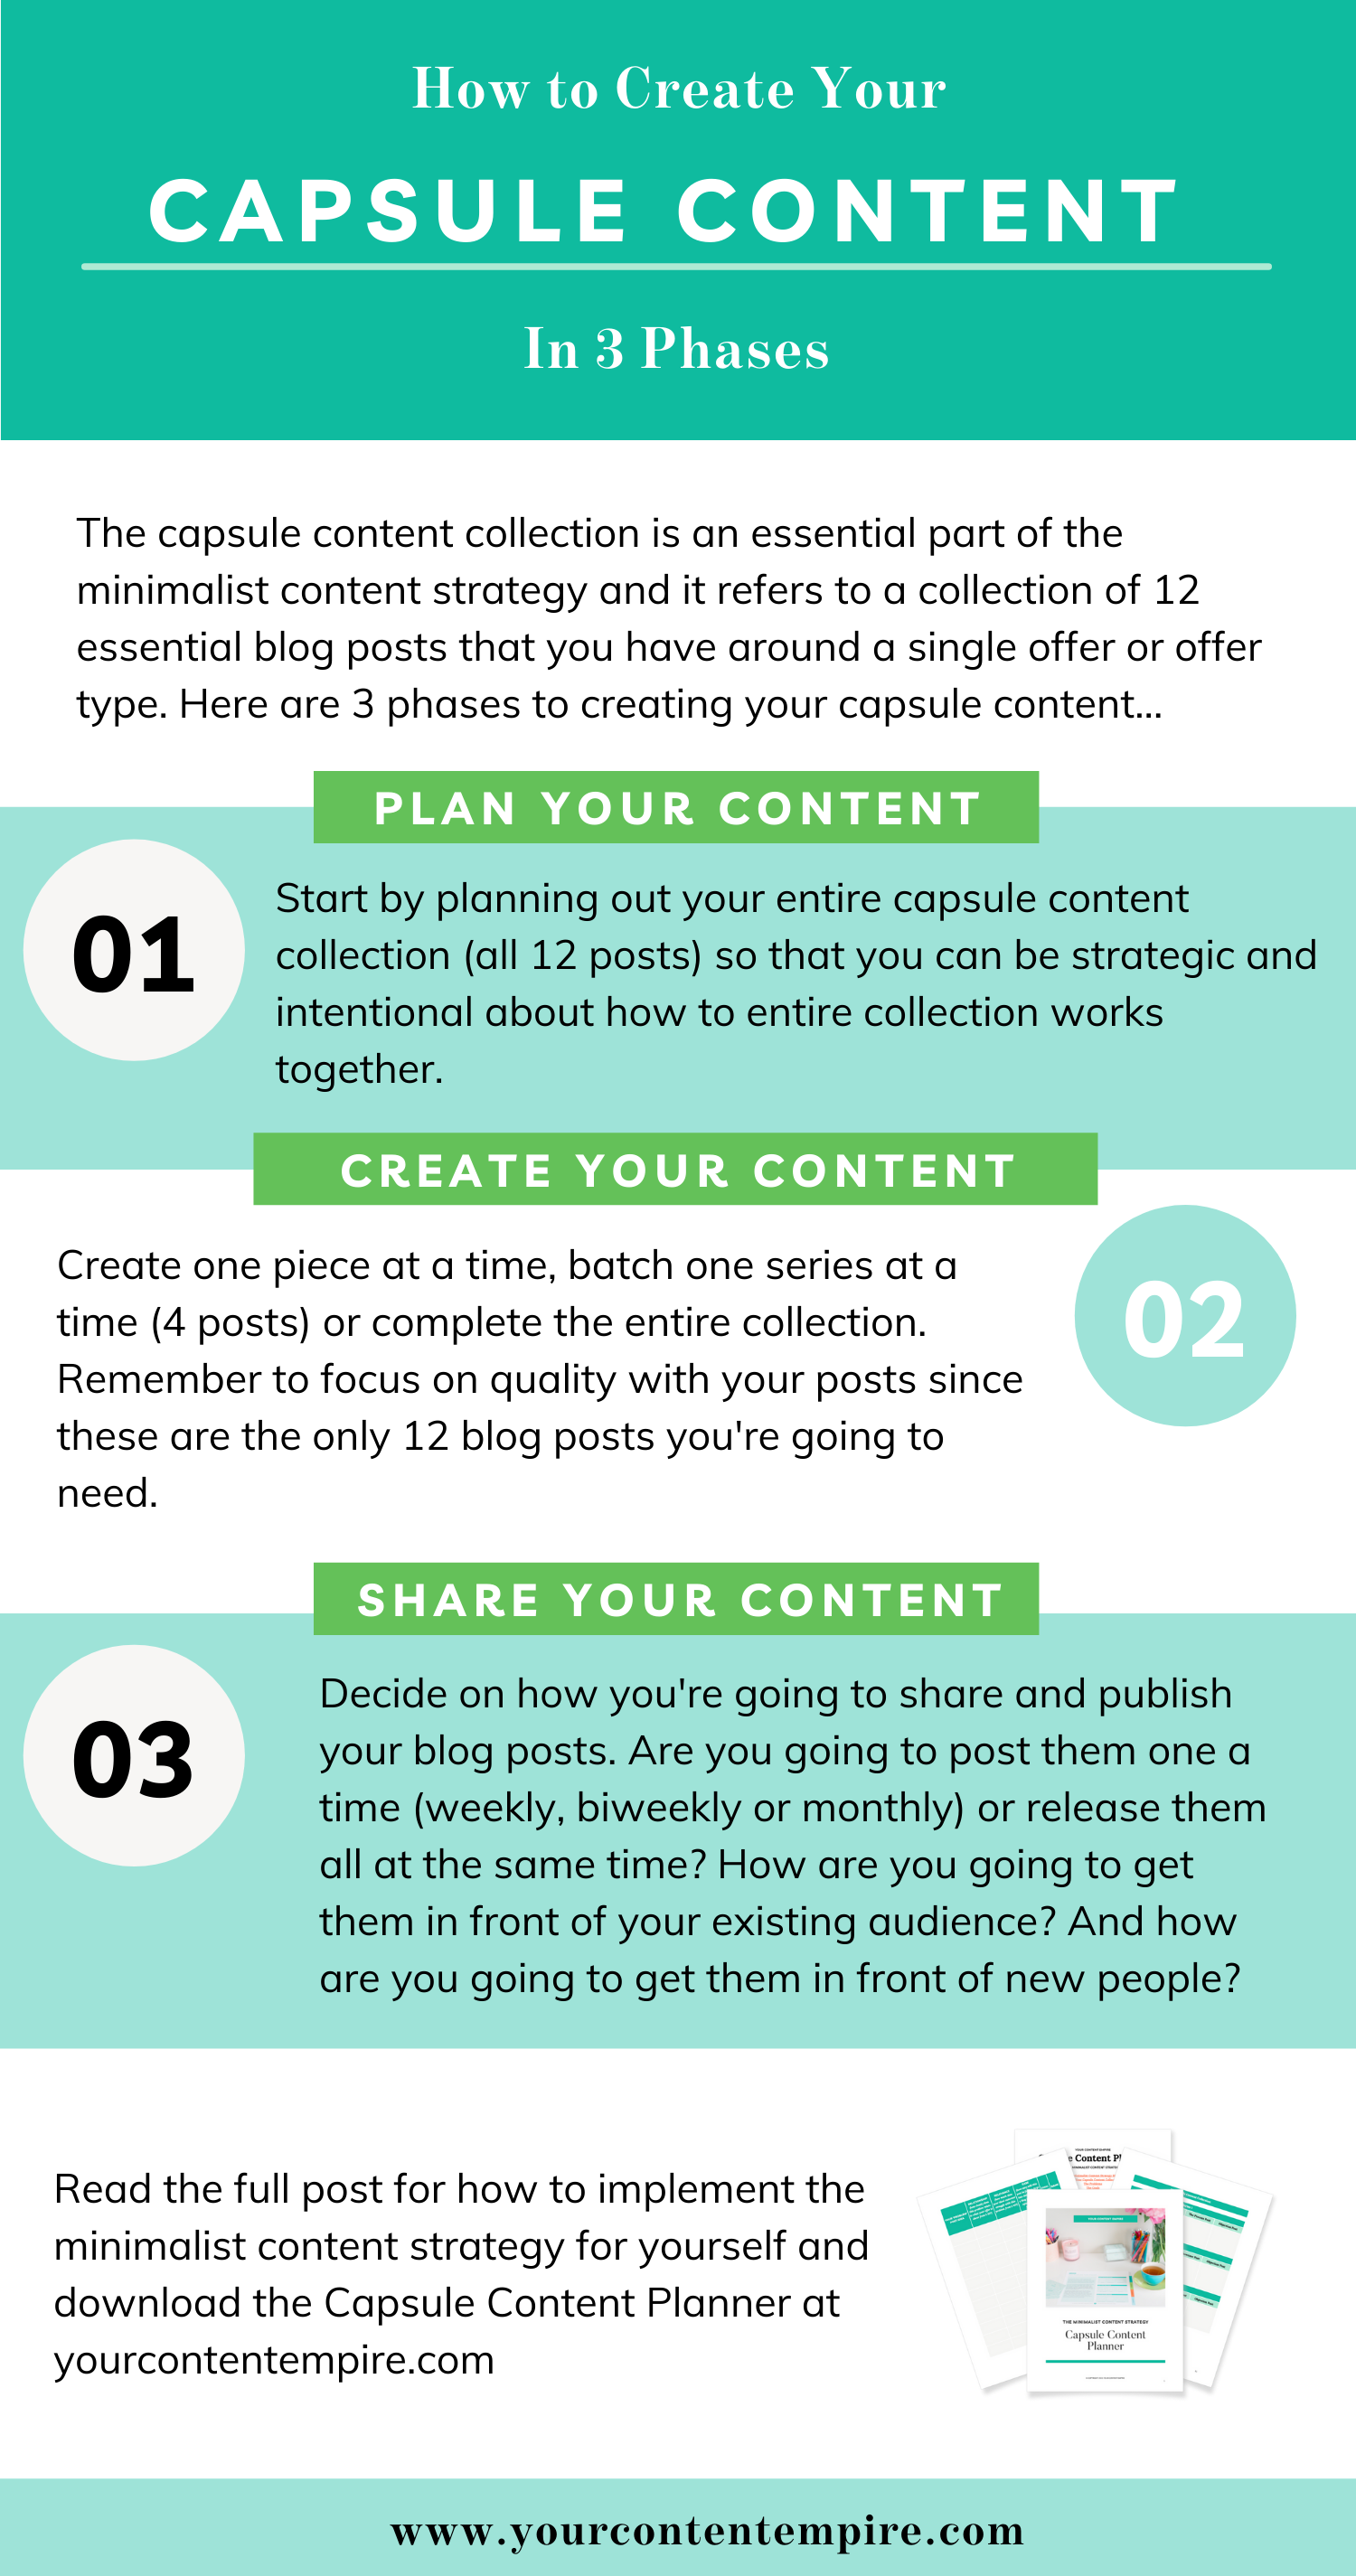
And I just want to remind you that even if you're going to create these posts one at a time, I definitely recommend planning all of the posts out so that you know what's coming next and how each one fits into the overall capsule collection.
So those are your three steps for planning your capsule content—and make sure to download the capsule content planner!
Phase Two: Creating Your Capsule Content Posts
What differentiates a capsule content post from your general run-of-the-mill blog post, podcast episode or video blog?
Here are four key features of capsule content:
- Because we're focused on this less is more, quality-over-quantity approach, these capsule content collection posts are going to be higher quality. This means that, in general, they're going to be probably a bit longer and a bit juicier, usually at least a thousand words if written. If it’s a video or a podcast, they will be likely paired with high-quality show notes and a transcript. You can afford to invest in these 12 posts in terms of time because you're not creating posts endless. There is an endpoint for you. So really invest your time and energy into making these 12 standout pieces of content.
- Another feature is that they are visually appealing and easy to digest. On top of being well written or recorded, they're also supplemented with some visuals, such as diagrams that explain and display different pieces of the blog posts.
- Because we have reverse-engineered the topics from your paid offers, a third feature of capsule content posts is that they fit within your funnel for your offer. The call to action is to sign up for your funnel freebie, AKA the doorway into your sales system for the paid offer that it relates to. You’re building a content marketing selling machine, so you need to make sure that the next step gets clients or customers one step closer in that buying journey.
- If you’re doing podcast content, your capsule content posts are usually going to be a solo episode, even if you generally do interviews with other people. This way, you can showcase your ideas and not somebody else's. Interviews can be great accessory pieces of content and a great way of amplifying your message, but for these capsule content posts, we want to make sure you feature your ideas.
You can use this as a checklist to check your blog posts, videos or podcasts after you've created them.
So what’s the process for actually creating these posts?
I’ll go through my recommended process, but I do want to note here that this process can vary depending on the type of content you're creating, if you're repurposing something, or adapting an existing blog post or video.
Pro tip: One of my favourite ways for creating these really high-quality blog posts is my DIY content interview method process. Check out that blog post for a walkthrough on how I use this content interview process to create high-quality blog posts.
Now, here is the four-step process I recommend for creating those capsule content posts.
Step One: Detail Your Outline
Get as detailed as possible. Create a very detailed outline so that it takes care of a lot of the writing for you. You really want to organize your thoughts, and here is where you might want to bust out that paper and pen again. Studies show that we are more creative and have more idea generation when we write things by hand versus typing them.
When outlining, make sure to organize everything in a way that makes sense. So if you're doing a how-to post, you should:
- Introduce the concept and why it's important
- Give the steps in a lot of detail and talk about why they’re important
- Summarize all your steps with your call to action
I recommend spending at least as much time outlining the post as you do actually writing or recording it. The more time you spend on that outline, the less time you're going to need to spend actually figuring out the right words to say.
Step Two: Draft or Record Your Post
Step number two, however, can’t be avoided. You need to draft or record that post.
In this step, you're going to take your detailed outline and you're going to expand upon it. You’re going to actually go and draft that written blog post, record that video or record that podcast episode.
Now, you might be using my content interview process and having a friend, a team member or a partner interview you. Or, you could be locking yourself away and just typing your blog post out. You could also be repurposing something, or just doing a solo podcast episode. Whatever works for you—block off time for yourself, set a deadline, and get it done!
Step Three: Edit
I'm a big believer that the magic in content creation really comes through the editing process. So you definitely want to take some time here and do multiple passes through your writing, video or show notes to make sure that everything is in tip-top shape and ready to go on your website.
I have a four-phase editing process that I rely on religiously.
- I do an editorial review and clean up. As I go through, I make sure everything flows and makes sense. I check spelling and ideas and reorganize information.
- Pass two is editing for brand voice. I go through and make sure that it sounds like me, and I add in pops of personality wherever possible.
- The third pass I do is for formatting and emphasizing the right information. I go through each section and I ask myself, what is the most important piece of information in this section and how can I call attention to it? Whether that is bolding it, italicizing it, making sure it's on its own line, or highlighting it—how can I make it stand out? I also ask, how can I break this up so it's a little bit easier to read and consume? This can involve adding in subheaders and bullet-point lists and shortening sentences and paragraphs. I am the queen of the run-on sentence, which was a huge sticking point between my MA thesis advisor and me. This pass is essential, at least as far as I'm concerned because formatting and structure are crucial for readability, especially for long, detailed posts. You want your audience to be able to absorb your content effortlessly.
- In pass number four, I like to set aside the post for a bit (a few hours or a day), and then come back and do a final pass-through and see if there are any final changes that I want to make in each of the sections.
By the time I get through that four-phase editing process, I'm pretty darn happy with how the post has turned out.
Step Four: Add Polish, Pops and Visuals
Go back through and figure out where you can add a diagram, gif, pull quote, or another kind of visual that supports your point. Where can you really make things pop? Step number four is really just to bring all the pieces together and publish it and make it look really, really good.
Tip: Make a Freebie for List Building
Finally, I recommend—especially with those problem and goal posts—that you choose one of them and turn it into a simple freebie for list building. It’s going to go a long way in getting people into your sales system and into your funnel for your main offer.
What is the biggest problem that most people share? What is the biggest goal that most of your ideal clients and customers have? Turn those pieces of content into a roadmap or a checklist, and then turn it into a download that people can sign up for.
By jumping off the content you’ve already created, putting together a freebie is low-hanging fruit for your business.
Phase Three: Sharing your Capsule Content
You’ll find there are many, many ways to share your capsule content blog posts. Here are five of my favourite ways that you start working into your strategy right now.
1. Publish and Share Your Posts
At the end of the day, your capsule content posts are blog posts. The same ways that you're creating and sharing blog posts right now still apply and work. As you create each new capsule content blog post, publish it, promote it and drive traffic to it.
If you are in the capsule content creation phase, meaning that you haven't created all of your 12 blog posts yet, I recommend that you release them one by one, either weekly, bi-weekly or monthly. So publish them, have a social media campaign around them to drive traffic to them and make them your main event for that week.
I wouldn't recommend publishing more than one a week at a time as you're releasing them. Each of these posts is so good that you’re going to want to create an event around them and an opportunity for people to truly pause for a moment and consume them.
So pick one and release them one by one.
If you're finished with the creation phase, meaning that you've already created all 12 of your core blog posts and released them, you can go back and reshare them.
So your posts don't necessarily need to be new posts. You can go back and share them. People who've already seen them will appreciate seeing them again because they’re likely going to be at different points in their business and take away different things.
I know I can read the same book 10 times (for me, it's Playing Big by Tara Mohr, and I read it every single year). And even though I've read that book before, every time I read it, I take something new away from it and apply it in different ways. And the same is true with your content. By resharing it, you're going to give new people in your audience an opportunity to see it and love it and apply it as well.
When it comes to the sharing schedule, I covered that a little bit in the creation phase, but essentially what you're going to do is you're going to want to share it in a specific order.
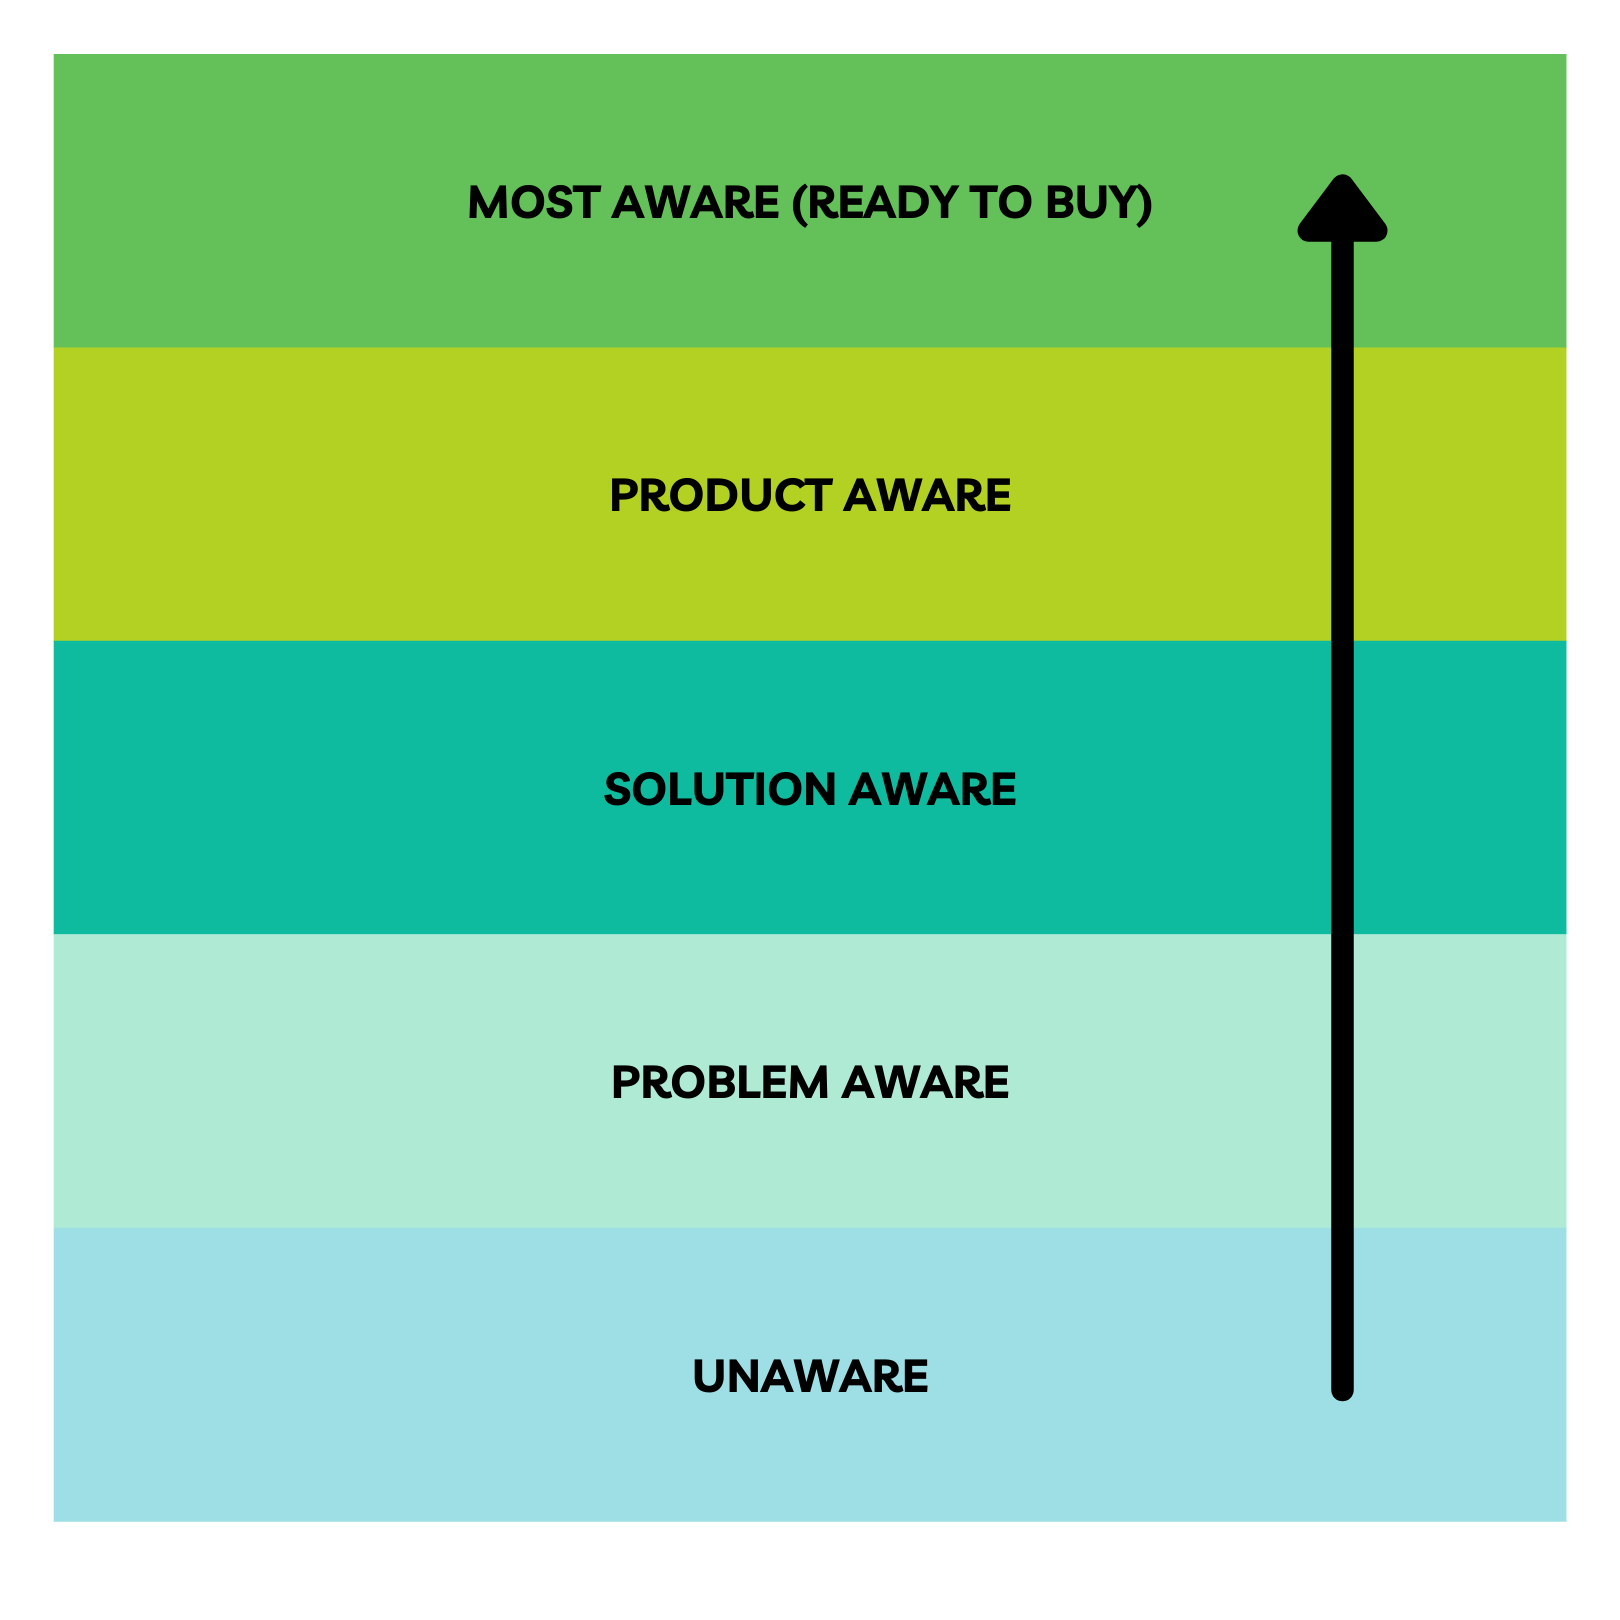
You’ll create three groups of four blog posts (problem, goal, individual post, objection) that you'll rotate through. The goal is to avoid sharing two goal posts back to back, or two problem posts back to back. Instead, you want to make sure that you're sharing your content capsule posts in a series that follows the customer awareness schedule.
You can set up the sharing schedule that makes the most sense for you. Here are a few examples of how different schedules play out:
- Weekly: get through one group of four posts) in a month
- Bimonthly: get through one group of four posts every two months, or
- Monthly: get through one group of four posts in four months (you're basically going to have a year of content covered from just these 12 blog posts)
2. Repurposing Your Posts
The second way to share your capsule content is by repurposing it.
In a few weeks, I’m going to be hosting my brand-new repurposing challenge and I'm so excited to share it with you. To give you a teaser, here are some of the ways that you can repurpose these capsule content posts so that you can get a lot of mileage out of them.
- Turn them into social media posts. Because you’ve created really juicy posts, you’re going to be able to take out sections of them and turn them into social media posts. My method of repurposing capsule content blog posts is to turn each of them into at least 12 social media posts. I go through my method in the free challenge coming up
- Turn them into different formats. If you went through and created written blog posts, now, the second time through, you can film a video or a solo podcast episode for them. This will give people an opportunity to consume your content in different ways and you may reach people who prefer video content or audio content instead.
- Turn them into freebies. I mentioned this as a tip before, but turn those goal posts and those problem posts into roadmaps, checklists or processes. It's going to be a great little freebie for you to create other entryways into your sales system.
- Turn them into collaborations, such as guest blog post or a podcast interview where you teach people how to do X, Y, and Z. All of your speaking notes are right there in that blog post, which is fantastic.
- Turn them into presentations. If you want to participate in a summit, hold a challenge or host your own webinar, you can use one of your capsule blog posts as a jumping-off point for the content that is going to be in there.
- Turn them into products. This was actually one of the ways that I wrote my book, Your Content Rebellion—by pulling on different blog posts that I had created and turning those into the chapters. You might wonder why people would pay for content in a book format when they can read it for free, but people appreciate different formats and different ways of consuming content. I think about James Clear, who is the author of one of my favourite books, Atomic Habits. I recognize the majority of those chapters from the blog posts where I originally read them. Does that mean I enjoy it any less? No. It's just a different form of consuming the content and a different way to get the content. Each blog post could be a module in a course or a small digital product, or it could be something bigger like a book or a signature program.
3. Turn Your Posts into a Sales System
Earlier, I touched on the fact that you want to make sure each of your blog posts in this capsule content collection has a call to action that gets people into your automated sales system, AKA your sales funnel.
If you don't have a sales system already, what you can do is use one of the content capsule groups—problem, goal, how it works, objection—to form the backbone of the automated sales system that follows after someone signs up for your list. You would only need to add two to four sales emails that invite them to a special offer or a sales conversation.
4. Use My Forever Funnel Method
The fourth way that you can take it one step further is by using my forever funnel method.
If you want to put your content and your email marketing on autopilot, you can use the capsule contents groupings to send out your sales emails. Anyone who signs up starts on email one, even if they signed up two weeks after someone else.
By scheduling it so that each of these groupings goes out in an email week by week, people will be getting an email regularly from you, but you won’t need to remember to write and send an email newsletter week in and week out.
What's great about this is that if you’re sharing weekly and you have your 12 posts, that is going to cover a whole three months. Or, you could spread it out so that you do one of your groupings, then add a week or two of sales emails for your offer, and then go back to the weekly nurture emails. By doing it that way, you're going to be able to cover four and a half months of content completely on autopilot. Learn more about this method here.
5. Stacking
Finally, you can start adding additional capsule content collections and start stacking them.
If you have multiple distinct offers that require different capsule content collections, you can now start working on your next capsule content collection for the second offer, and then you can stack those two. This means that people go through the first one, and then they can go through the second capsule content collection as well, or as many as you create, and then you can go back to the beginning.

