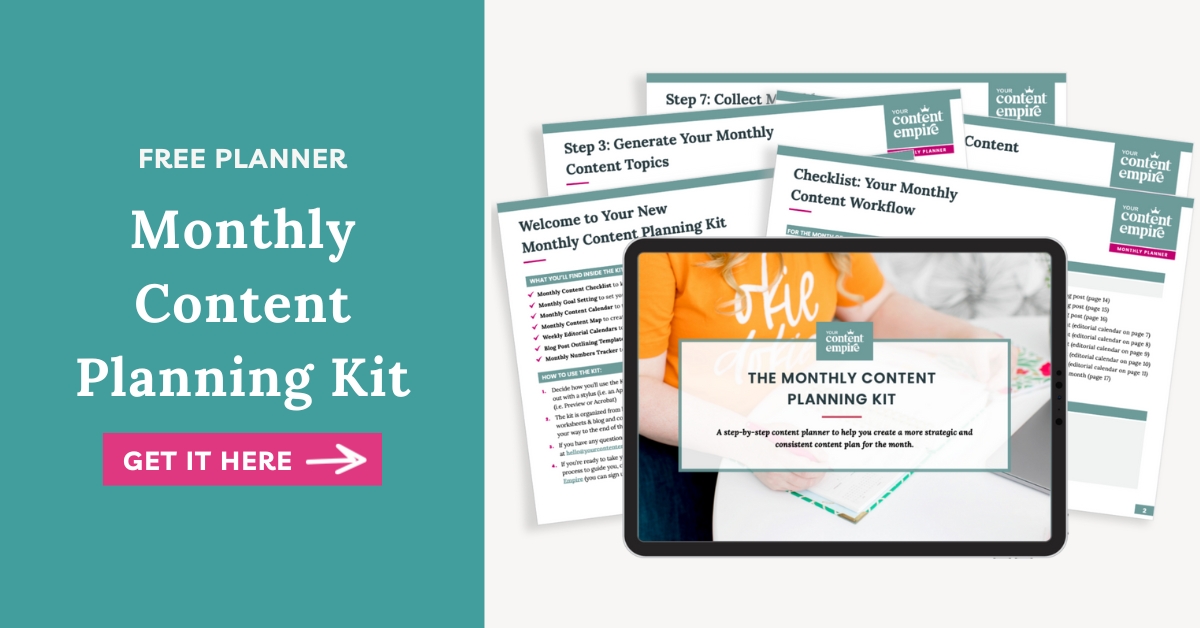
Want more profitable + strategic content? Grab my free content planner!

How to Streamline Your Blog Post Image Creation Process

Hailey Dale
How to Streamline Your Blog Post Image Creation Process | Your Content Empire

HEY THERE!

I’m Hailey – content strategist and founder here at Your Content Empire where we help you create more profitable, purposeful and productive content — and hopefully enjoy yourself more while doing it too. Learn more about me here >>

Let’s Connect

Categories

Content Systems
Content Strategy
Sales Funnels
All
How to Streamline Your Blog Post Image Creation Process

One of the most time-consuming processes with blogging is having to create blog post images. We all know how important images are for building your brand + enticing people to read your post, but who has that kind of time?

Your secret weapon? Branded image templates.

Having branded image templates not only make your post recognizable when people are scrolling through their social media feeds, it will also help you save mega time with a streamlined, efficient process.

Here is your cheat sheet for creating your branded blog image templates!

Step 1 – Have Your Blog Style Guide in Place

Even though you probably already have a style guide for your brand and website, it can really help you stay consistent (and make formatting and outsourcing much quicker) if you have a style guide especially for your blog.

A Blog Style Guide includes key elements of your overall brand style guide (colours, fonts), but focuses on specifying Header Styles and Image Styles.

Step 2 – Create Your Branded Templates for Blog Post Images

We want to create your branded images templates in a tool like Photoshop, Canva or Adobe Spark. That way you can save the templates, so that everytime you have to create a new image, you can pull up the template, change the background photo and the text and voila, you’re ready to publish!

Here are some tools, tips and resources for creating yours:

Tip: Assess What You Already Have

Instead of starting from scratch, take a look at what you already have. You can build the rest of your templates around these or use these as a base for creating a whole new suite of branded image templates.

Here are some questions to ask of your current image templates:

• What image templates do you currently use consistently for your blog posts?

• Do you have your brand fonts defined?

• Do you have your brand colours defined? A list of hex codes pulled together?

• Do you have your logo files stored in an easily accessible place?

• Do you like your image templates?

• Are they effective? Eye-catching? A good representation of your brand?

Resource: 10 Types of Blog Post Images You Can Create

1. Facebook/Twitter-sized

2. Instagram-sized

3. Pinterest sized

4. Infographic templates

5. Content upgrade templates

6. Quote image templates

7. Behind-the-scenes and process image templates

8. Collage image templates for snapshots, pictures of resources/tools/products

9. Question prompt image templates

10. Content upgrade templates

Resource: My Favourite Stock Image Sources for Feminine Stock Photos

• Haute Chocolate (http://www.hautechocolate.ca/)

• Stocksy (https://www.stocksy.com/)

• Death to Stock Photos (http://deathtothestockphoto.com/)

• Adobe stock (https://stock.adobe.com)

• Creative Market (https://creativemarket.com/)

• Etsy (http://www.etsy.com/)

Tip: Key Ingredients to Include in Your Templates

• Your Logo and/or website URL

• Easy-to-read Blog Post Title

• Title and Description (Blog Post Title by Your Business Name)

• Consistent Color Schemes and Fonts Based on Your Website and Brand

• Photograph, pattern or solid color

Step 3 – Take a Moment to Jot Down Your Process for Blog Post Images

Once you have your process, jot down the steps you’ll take to create a new image using the templates. Also gather your image template files (if you’re using Photoshop) or the links to your templates (if you’re using Canva).

Don’t skip this step. This will make it really easy to stay consistent, hire someone to help you and start building systems in your business.

Get Your Entire Content Strategy Organization with my FREE Monthly Content Planning Kit

How to Streamline Your Blog Post Image Creation Process | Your Content Empire

You Might Also Be Interested In These Posts

The Complete Content Audit Action Plan

The Complete Content Audit Action Plan

I recently had the opportunity to do a massive audit of my content while I was preparing the new website and rebranding every single blog post and freebie I’ve ever published.  And while it was a TON of work, it was such a nostalgic trip down memory lane, and I ended...

The ChatGPT Survey System

The ChatGPT Survey System

You’ve heard that market research is important. Talk to your customers, talk to your customers. But what does that mean? And what the heck are you supposed to “do” with that information? In this video, I’m going to share my tried-and-true ChatGPT Survey System system...

Pin It on Pinterest

How to Streamline Your Blog Post Image Creation Process | Your Content Empire
Hailey Dale
How to Streamline Your Blog Post Image Creation Process | Your Content Empire
How to Streamline Your Blog Post Image Creation Process
How to Streamline Your Blog Post Image Creation Process | Your Content Empire
The Content Post-It Method: 30 Days of Content With This Simple Daily Challenge
The Complete Content Audit Action Plan
The ChatGPT Survey System
Freebies vs. Low-Ticket: Which is ACTUALLY better for growing your list? 🤔

Everyone’s raving about low-ticket offers being the holy grail of list building... but is that really true for YOU?

I’m breaking down the honest pros and cons of both strategies so you can make the right choice for your business right now. Swipe through to see:

✅ The hidden advantages of freebies that nobody talks about 

✅ When low-ticket actually makes sense (and when it’s a money pit) 

✅ 5 key factors to consider before making your decision

The truth? There’s no one-size-fits-all answer. But swipe this carousel to figure out which path is right for YOUR specific situation.

P.S. I’m hosting a workshop on March 12th all about how to create a sales funnel that works in 2025. Comment WORKSHOP and I’ll send you the link to sign up.
That bundle or summit you just contributed to? It’s filling your list with dead weight...

Yes, there’s some anecdotal evidence and Cinderella stories from those who they’ve worked for but the majority are doing a lot more harm than good. 

From the participant/customer side: Yes, they get a firehose of information but there’s also so much information that very little (if any) of it gets implemented. 

From the contributor/speaker side: Yes, you get exposure and a big jump in email sign ups, but because all of those people are also signing up for 10+ other people’s lists too, they’re below the lowest form of validated. 

I worked with a client who had started hosting bundles and had grown her email list from just over 1000 to 40000 in a year (!) but when she launched her brand new course couldn’t get a single sale. We worked together after the fact to work on nurturing and validating that list so it came down to around 10K left on the list but after a lot of content, they started converting. 

There’s no way to short cut growing your email list. You’re better off with validated people who want to be there than a whole heap of people who have nearly zero buy-in. 

If you have grown through summits and bundles, have a really good welcome sequence (longer than you think you need) and don’t be afraid to remove people who don’t interact with it. 

One of the things I’m covering in my upcoming workshop all about how to design a funnel offer that’ll sell in 2025 is the validation process. 

Want in? Comment WORKSHOP and I’ll send you the link to sign up for the free workshop on Mar 12th!
Launching your funnel is just the FIRST step—not the end goal! 

Too many business owners hit publish and call it a day, then wonder why they’re not seeing results.

The real magic happens in what you do AFTER launch, and I’ve got a system that’s helped my clients’ funnels outperform industry standards by 3X.

Here are the 4 crucial steps I implement after every funnel launch:

1️⃣ Set up a proper measurement system (no more guessing!)
2️⃣ Optimize all your online hotspots (most people miss this completely)
3️⃣ Run my proprietary Testing Protocol with your existing audience
4️⃣ Create a sustainable traffic strategy that fits YOUR business

The Testing Protocol is my secret weapon—it lets you perfect your messaging while generating initial sales to fund your scaling efforts. Your audience becomes both your testers AND your initial investors!

Want me to walk you through my complete post-launch system step-by-step?

Watch the full breakdown on YouTube to get the entire step-by-step strategy!

#funnelstrategy #marketingtips #onlinebusiness #salesfunnel #digitalmarketing #conversionoptimization #funnelhacks
Stop treating your funnel launch as the finish line! After you hit publish is when the REAL work begins.

My “Testing Protocol” strategy has helped client funnels outperform industry standards for years—here’s why:

Instead of leaving your funnel to die after launch, strategically run your existing audience through it in small groups. These “test subjects” (aka your most engaged followers) help you:

 ✅ Optimize message open rates

 ✅ Improve click-through performance

 ✅ Generate initial sales to FUND your paid ads

The best part? Your audience helps perfect your funnel AND gives you the capital to scale it with confidence. No more guessing if your funnel will convert when you start running traffic!

Comment “FUNNELLAUNCH” if you want the full video with ALL 4 strategies for what to do after launching your funnel (hint: most people skip #2 completely!)
What happens after the funnel purchase matters more...

The main goal of your funnel is to make a sale, right? But after you make that sale comes your biggest window of opportunity (my customer multiplication formula) and most people are majorly dropping the ball here ↓

They send the offer and then treat new customers like everyone else on their email list → when they should be treated like anyone but.

Those who do take advantage of this opportunity turn new customers into brand ambassadors, repeat purchases and referrals.

How does this relate back to touchpoints?

This comes back to building your funnel around touchpoints. Looking at data for 2025:

📊 Past customers only need 1–3 touches on average
📊 Warm inbound leads need 5–12 touches
📊 Cold prospects require 20–50 touches

Even though it takes WAY less touchpoints to upsell existing customers, most people hyper focus on bringing in new sales when focusing on your existing customers is a much better way to bring in repeat AND new sales.

What is the delight and invite funnel?

That’s where the delight and invite funnel comes in. It becomes your offer delivery sequence with more delight and invite opportunities woven in.

The main goals of this funnel:

🏆 Incorporate feedback loops to get ahead of challenges your customers experience + be first to hear about wins

🏆 Create assets and campaigns around customer results

🏆 Connect directly with new customers to let them know they’re seen and appreciated

🏆 Incentivize them to share the offer with their audiences and friends

🏆 Invite them to exclusive offers

Here’s the customer multiplication formula this funnel is built upon:

Delight x Invite = Turning Every Happy Client Into 2-3 More

This formula (and the strategies behind it) is one of the things I’m covering in an upcoming workshop about designing a funnel offer that’ll sell in 2025.

Want in? Comment WORKSHOP and I’ll send you the link to sign up for the free workshop on Mar 12th!
How to Streamline Your Blog Post Image Creation Process | Your Content Empire
Share This