Does the thought of sitting down to write a blog post fill you with dread and “please – anything but this” thoughts?
Or maybe you can think of a few times when you've sat down to write something and it was EASY, words were flying faster than your fingers could hit those keys on your keyboard and you ended up with something you really really loved — but re-creating that experience consistently isn't happening?
If that's you, you're going to love this post where I'm taking you step by step through my personal process to help you write a great blog post from scratch EASILY.
Maybe you can think of a hundred things you’d rather be doing than writing a blog post right now. Maybe just about anything is better.
But there might be those when you sit down to write and things will flow but that feels like more a matter of luck than any guaranteed thing. And maybe you think that blogging is just supposed to feel like this – hard and sloggy.
But let's back it up. Likely if you're watching this video or channel, I don't need to convince you that content and blogging is important. You know all the reasons why – like traffic back to YOUR website, establishing yourself as an expert, developing your knowledge bank, priming your audience to buy and more.
But there's a big difference between knowing it's important and knowing how to do it. I haven't found a lot of people talking about the actual HOW which is exactly what we’re breaking down in this video.
Ready for a challenge? Trust me, it’ll be fun…
Pick ONE topic from your calendar, open up a word doc in a separate window and play along with me. You can pause when you need to and you'll end this video with not just great tips but a blog post you can take and publish too.
If you can't think of a topic, how about something simple:
- Why [Your Area of Expertise] is Important for [Audience You Serve] (give examples – why content is important for online business owners, why meal planning is important for families, etc.
STEP 1: FREE WRITE FOR 10 MINUTES
The very first thing we want to do is spend a short amount of time getting your initial ideas outta your head and onto paper or digital paper in most cases.
The time you spend here will pay off when it comes to finding your angle for the post. The last thing you want to do is say something that everyone else is saying. So as soon as I have my topic on my content calendar, I'll set a timer and write some quick ‘whatever comes to mind' notes on the topic so that when it's time to write, I'm never starting from scratch.
Here's an example for you of what the finished free writing will look like – and it's about to get a little meta because this is my free writing for this video script. As you can see, all grammatical rules flew out the window and it was more about getting down my initial thoughts.
Here’s how to complete this step:
- Start with a topic or working title
- Set a timer for 10 minutes (experiment with this timing) and just write down anything that comes to mind to you about that topic. It could be examples, stories, points you want to make sure to mention, even stats or quotes you know you've seen before but you need to go and find. There's no point in editing or filtering yourself at this point because we're just making notes for you.
After that, you can set it aside for when you're ready to create it or move on to the next step.
STEP 2: CREATE YOUR OUTLINE
After you have your free writing, it's time to design the structure for your post using your free writing as a jumping-off point.
Just a note here – there are a million ways you can structure your post, so I'm going to go over the simplest structure. The whole point of this step though is to create a high-level outline of the post so you can start filling it out using words.
Here's an example of what my outline looks like. As you can see it's quite long but that's because for me the trick is starting. I resist sitting down and writing something, but once I'm there I throw myself happily into the process.
Structure 1 (Intro, 3-5 steps or points, Conclusion)
- Start with your main steps or points – what is the working title of the step, why does it matter, do you have a story or example of it in action, the how
- Add your introduction – how does your audience currently feel about the topic, why does it matter to them, what are they going to learn or discover
- Add your conclusion – summarize the steps, remind them why it matters and the difference it can make to them, have a final call to action
Tip: You can either keep to bullet points here or write down whatever comes to mind. I'll be honest for me, I usually end up writing most of the post here or taking bits of my free writing and copying/pasting it over
STEP 3: WRITE YOUR POST
Luckily by this point, you've done a lot of the heavy lifting. And that's the key to this – the more time you spend in steps 1 and 2, the quicker and easier the rest of the process will go. So when we get to this step (writing your post), it's going to look a little different depending on how must you have to work with from the easier steps.
Here's the most important thing to know about this step – what you write can be horrible, terrible and something you'd never let see the light of day. This is the epitome of the crappy first draft – so try to embrace it and know that the editing process coming up next will help you polish that diamond in the rough
Here’s how to complete this step in the process:
- Open up a word doc and copy and paste over your outline
- Then we're going to go section by section: So for each one set a timer for 10 minutes and flesh out or write the section. Repeat until you're finished.
Tip: In terms of finishing out each section, you have options. You could write it or even speak it, record yourself and have it transcribed. I have a video about our content interview process that you can check out here.
STEP 4: EDIT YOUR POST
Now's where the magic comes in. No matter how terrible your draft is, this 4-phase editing process will turn it into something you can't wait to publish. It’s the same process I use for everything I create as well as in the agency for our client projects.
Here are the 4 phases in this magical editing process:
Phase 1 – Edit for clarity: So in this phase you're going to read through your entire post, rewrite sections and edit here and there to make sure it makes sense, the spelling and grammar are on point and each section flows logically from one to the next. You could also run it through Grammarly here to pick up anything you're missing.
Phase 2 – Edit for personality. Next, read through each section, and sprinkle in that personality and voice. I find it helpful to read my brand voice guidelines or customer profiles before this section sometimes.
Phase 3 – Edit for formatting. Writing an essay and writing for online are two different ballgames. So in this pass, you're going to online reading proof it by breaking your writing up into shorter sentences and paragraphs, adding into bullet points, and subheaders. Anything that makes it easy for people to scan and read.
Finally, put it aside for at least an hour but ideally more like a day and then:
Phase 4 – Read through one final time for any final things that you want adjusted.
STEP 5: WRITE YOUR HEADLINE
Then we get to our final step – the headline. You can have the best blog post in the world that doesn't get read because the headline isn't something that people want to click on. So it's crucial that we turn your working title into something that makes people click through to read it. We want to hit on curiosity: what's in it for them, benefits or include an element of surprise.
Step 1 – Write at least 5 options. Here are a couple of my go-to headline recipes:
- Recipe 1: The But-Buster. So in this one, you’re taking a benefit they’ll get from taking action or learning about the topic of your post minus a potential objection. It’s framed like this: How to BENEFIT without OBJECTION or How to BENEFIT even if OBJECTION. I’ve used this before in this headline: How to make 10K with a cash injection campaign even if you have a tiny email list
- Recipe 2: The Leading Question. In this recipe, you’re turning a benefit or frustration related to the topic in the post and phrasing it as a question. Are you ready to finally BENEFIT? Or Are you over FRUSTRATION? Here’s my example that I’ve used: Are you sick and tired of launching to crickets?
Once you have 5 potential options, you’re ready for step 2 which is to pick the most promising one.
Finally, step 3 – Make it even better – Use a headline analyzer and follow their recommendations until you're in the high scores. I'll put a link to my fave one below – the CoSchedule Headline Analyzer.
The Step-By-Step Process to Write a Great Blog Post Fast
So if you’ve played along with not only have you learned my step by step build-a-blog process but you hopefully have something ready to publish too. But just in case you’re going to try this later, let’s recap the steps:
Step 1 – Free Writing on the Topic
Step 2 – Create Your Outline
Step 3 – Write Your Post
Step 4 – Use My 4-Phase Editing Process
Step 5 – Write A Clickable Headline
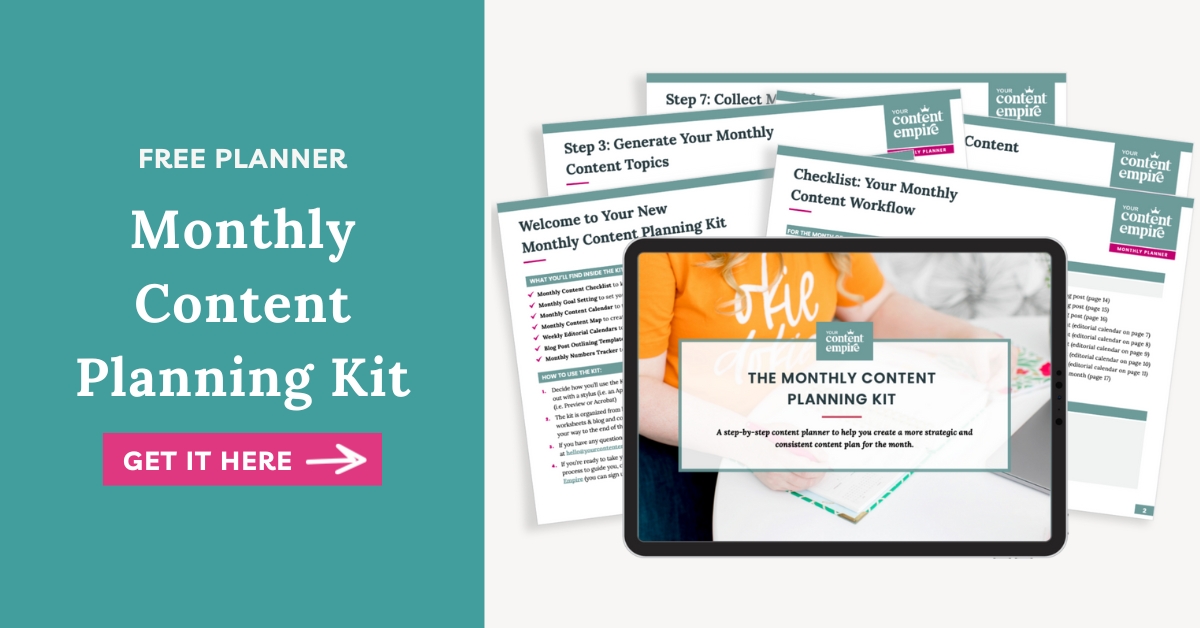
Add Your Blog Posts to an Editorial Calendar to Stay on Track with My FREE Monthly Content Planning Kit